
Create a Zap!
Zaps are how you tap into Zapier functionality, this page shows you how!
What is a Zap?
In Zapier, a "Zap" is the an automation unit that connects two or more web applications to perform a specific task. It's a trigger-action workflow that says: "When something happens in App A, do something in App B" in the format of: When [Trigger] → Then [Action]
Anatomy of a Zap:
- Trigger: An event that starts the Zap. (e.g., "New email received in Gmail")
- Action: The task performed in another app. (e.g., "Send notification to Slack")
- Connection: The link between the trigger and action apps.
Example: When [Trigger: Form is submitted in App A] → Then [Action: create a Lead in AccuLynx]
For a better understanding the capabilities of an AccuLynx - Zapier integration, visit the Triggers and Actions.
Before you create a Zap, get these ready to use!
- Active AccuLynx account
- Active Zapier Account
- AccuLynx API Key, refer here to know how to Create an API Key
- Create a unique API Key in AccuLynx for every Zap you create to allow better reporting within AccuLynx
How to create a Zap
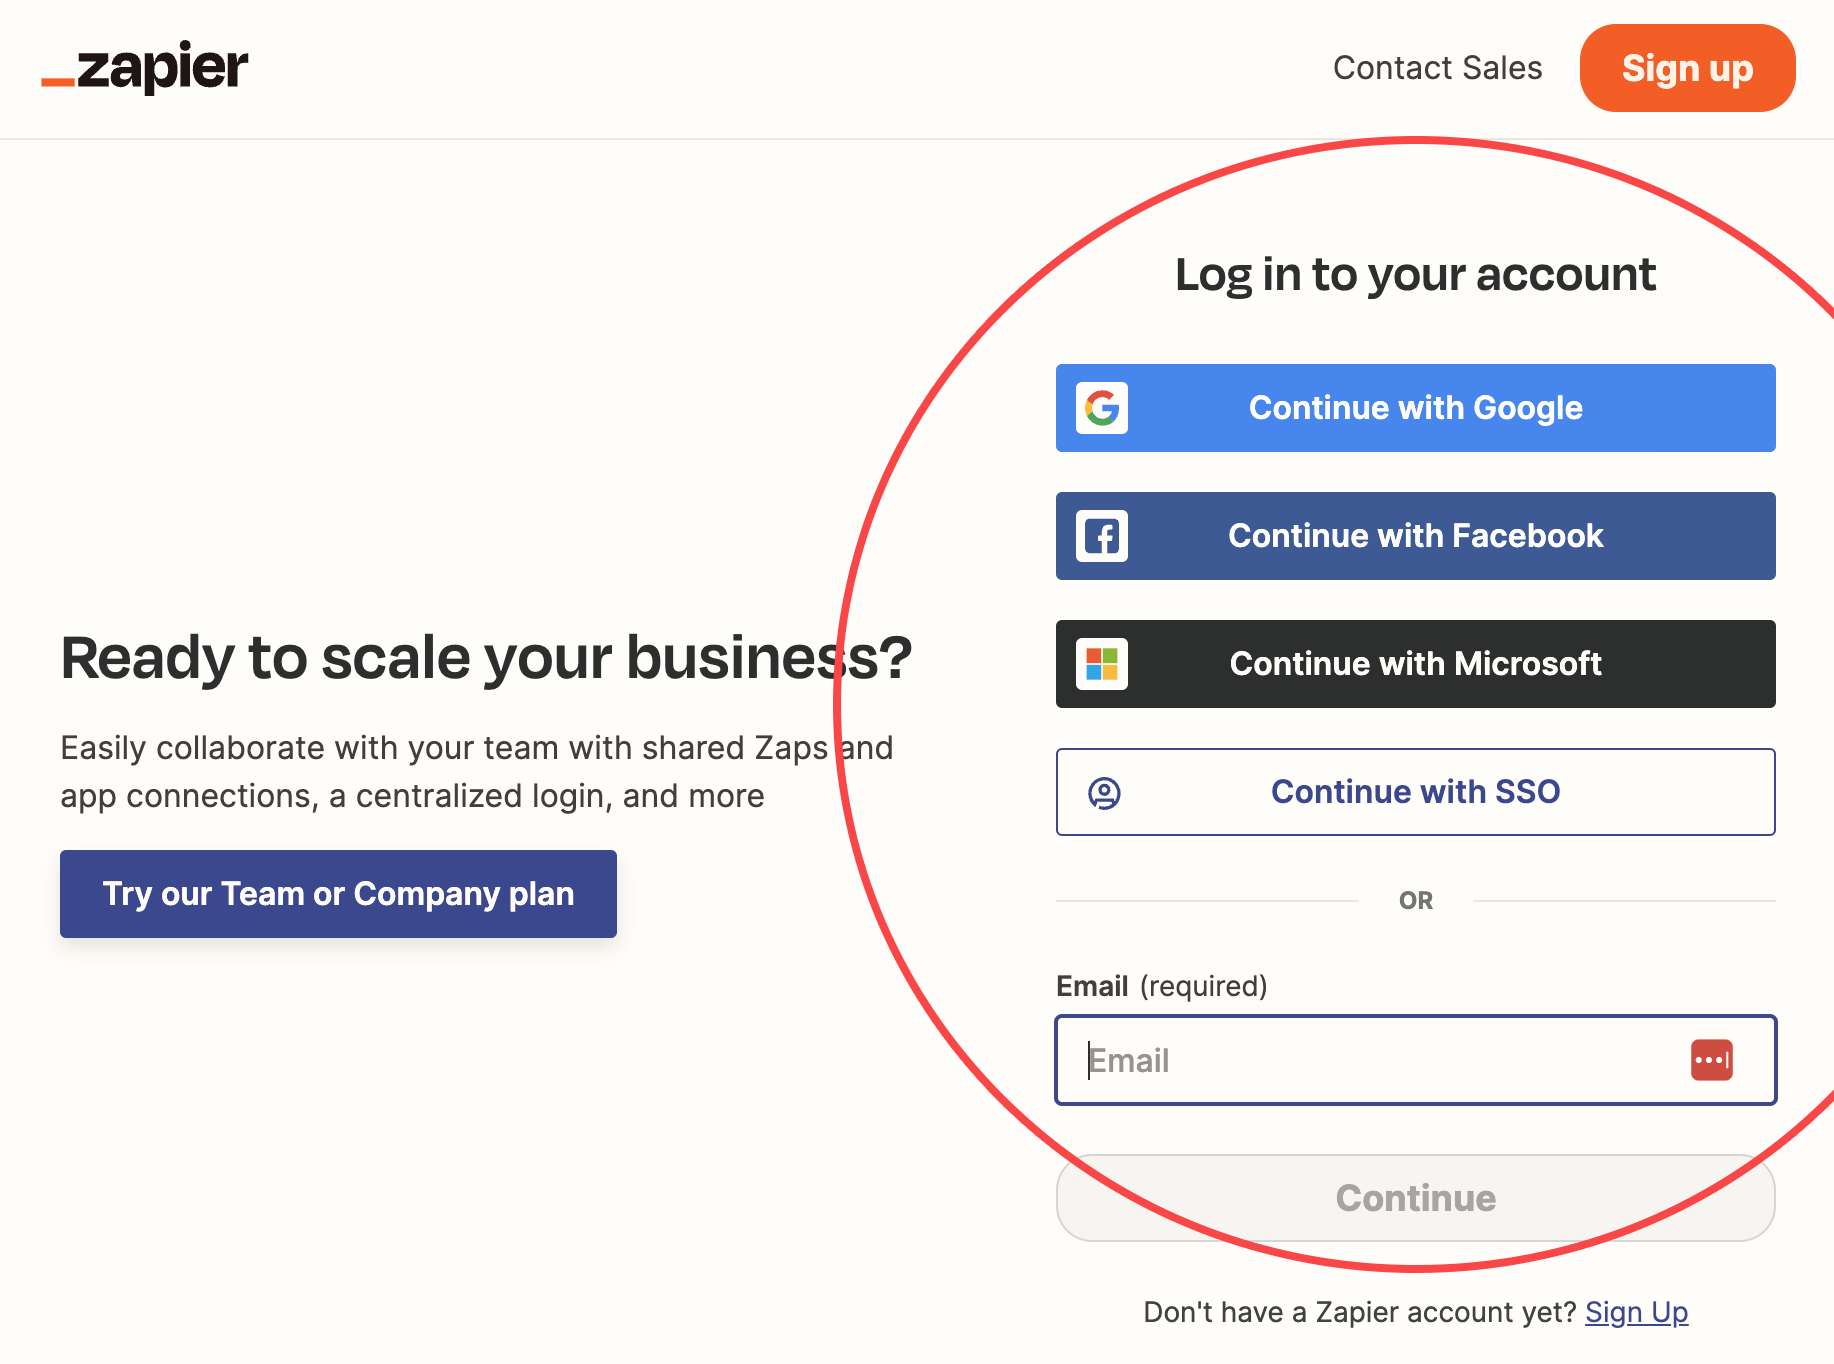
Step 1: Go to Zapier
log into your zapier.com account or create a new account.
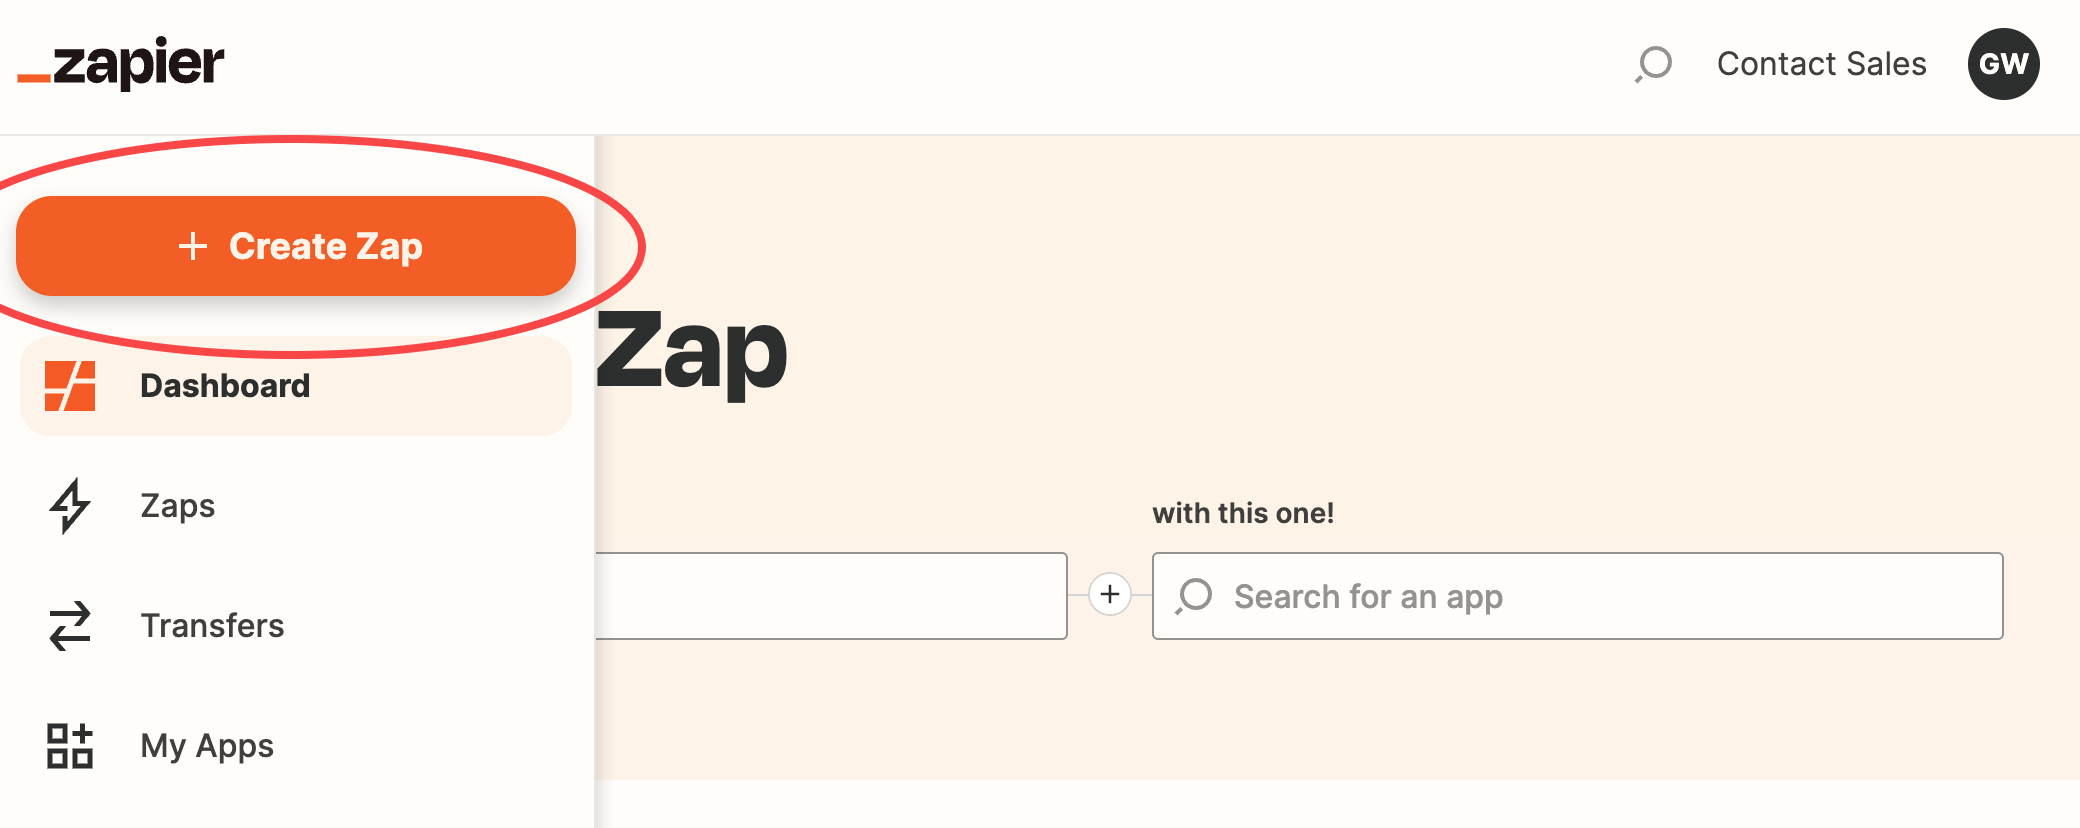
Step 2: Create Zap
Click the orange “+” button on the top left to “Create Zap”.
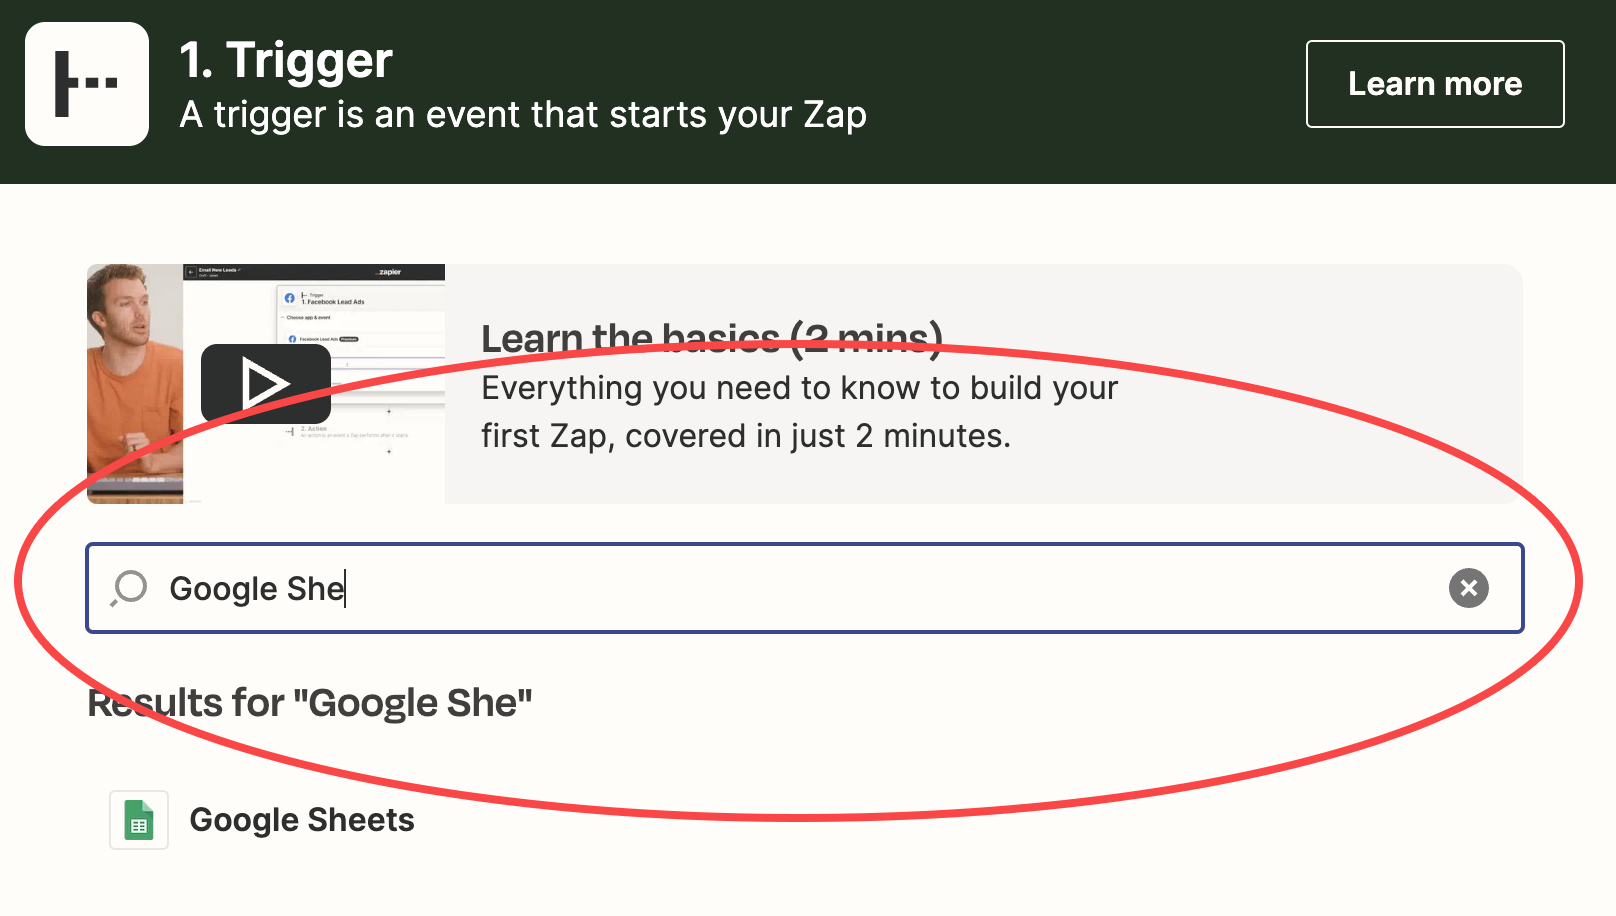
Step 3: Configure your Zap
You have 2 options when configuring your Zap:
- Option A: Leads can be pushed into AccuLynx
- Option B: Job lists can be pulled from AccuLynx when a job changes milestones.
Option A: Push Leads into AccuLynx
If you want to “create a lead” in AccuLynx when a lead is created in a secondary application, follow these steps:
- Add the Trigger
- Search for the secondary application and add it as the Trigger App.
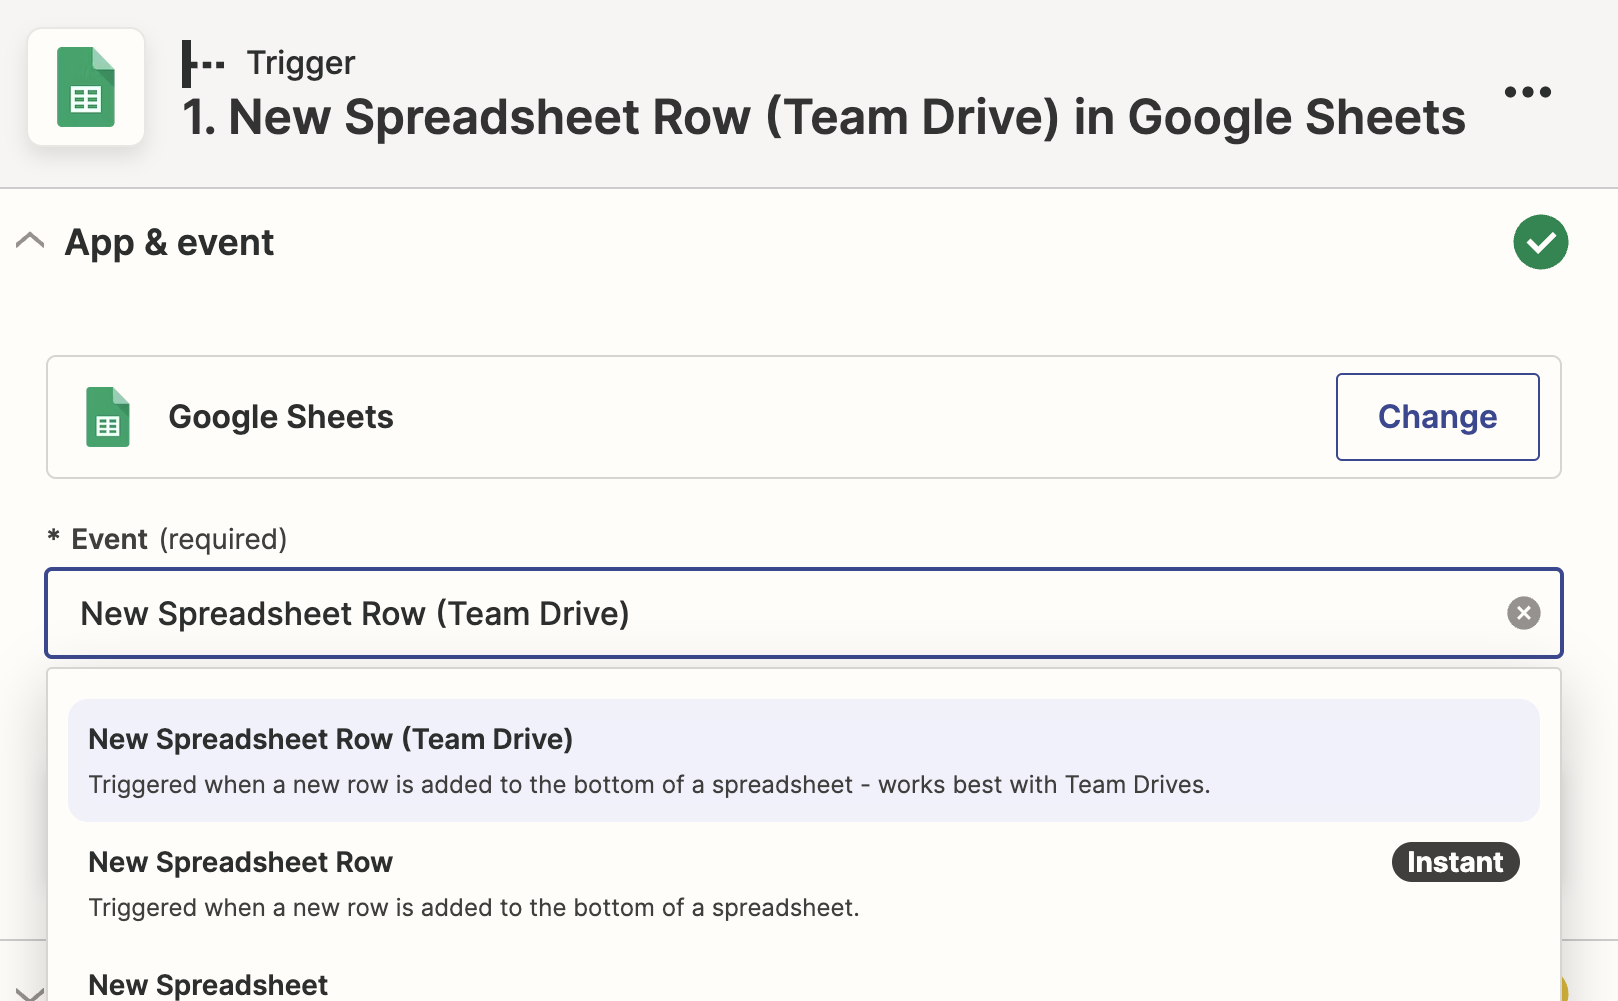
- Select the Event
(Options will vary depending on the selected application.)
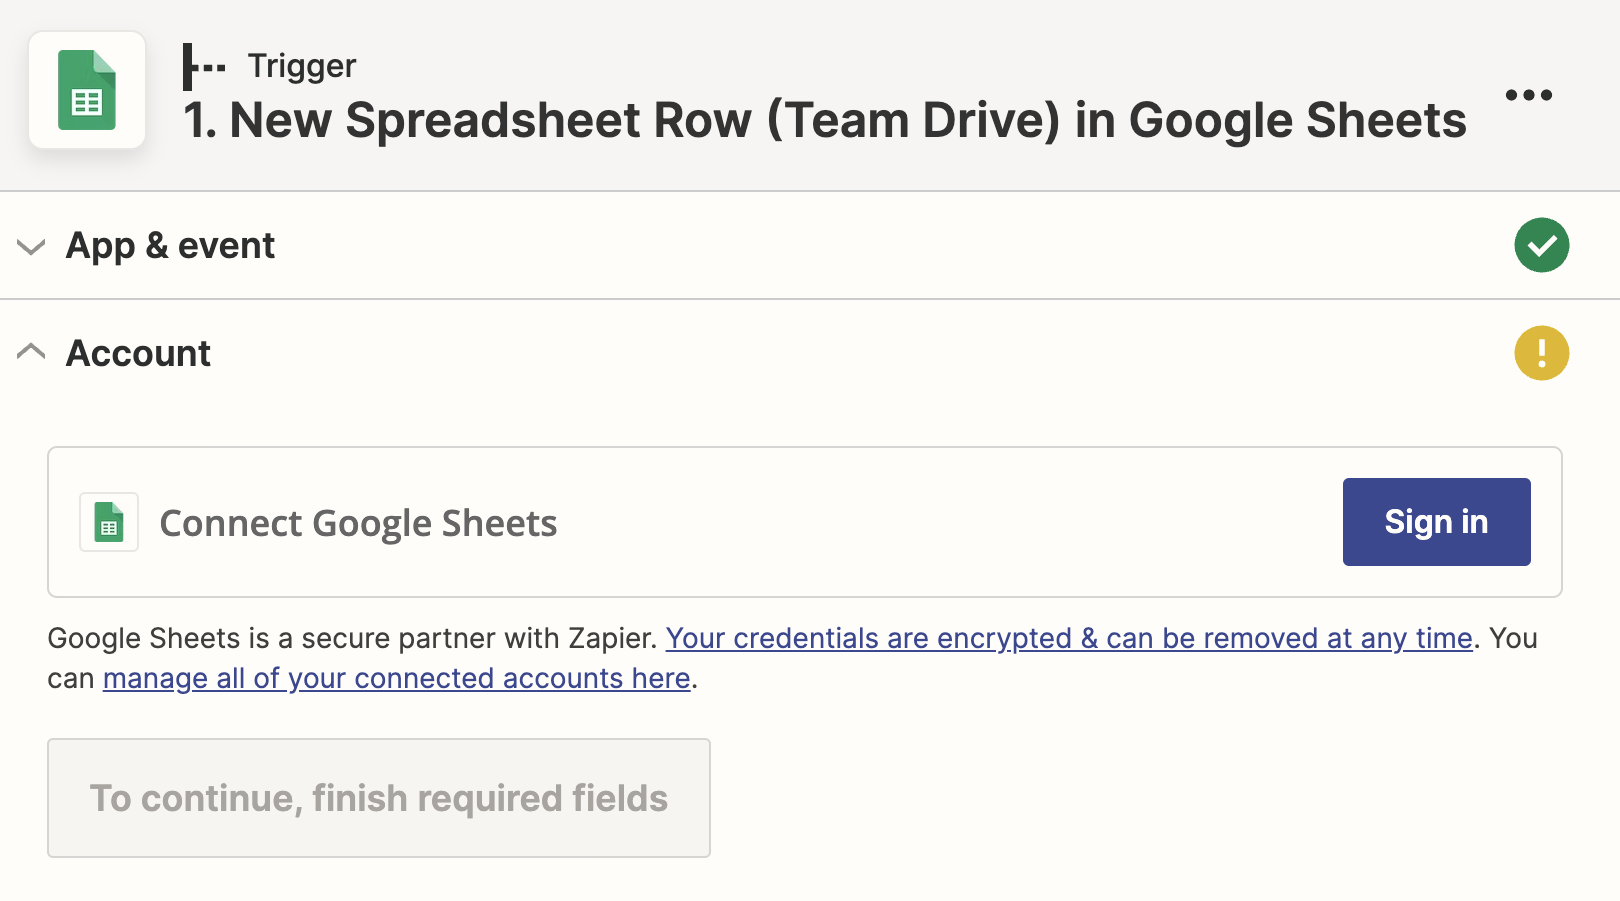
- If login is required to access your software, enter login credentials.
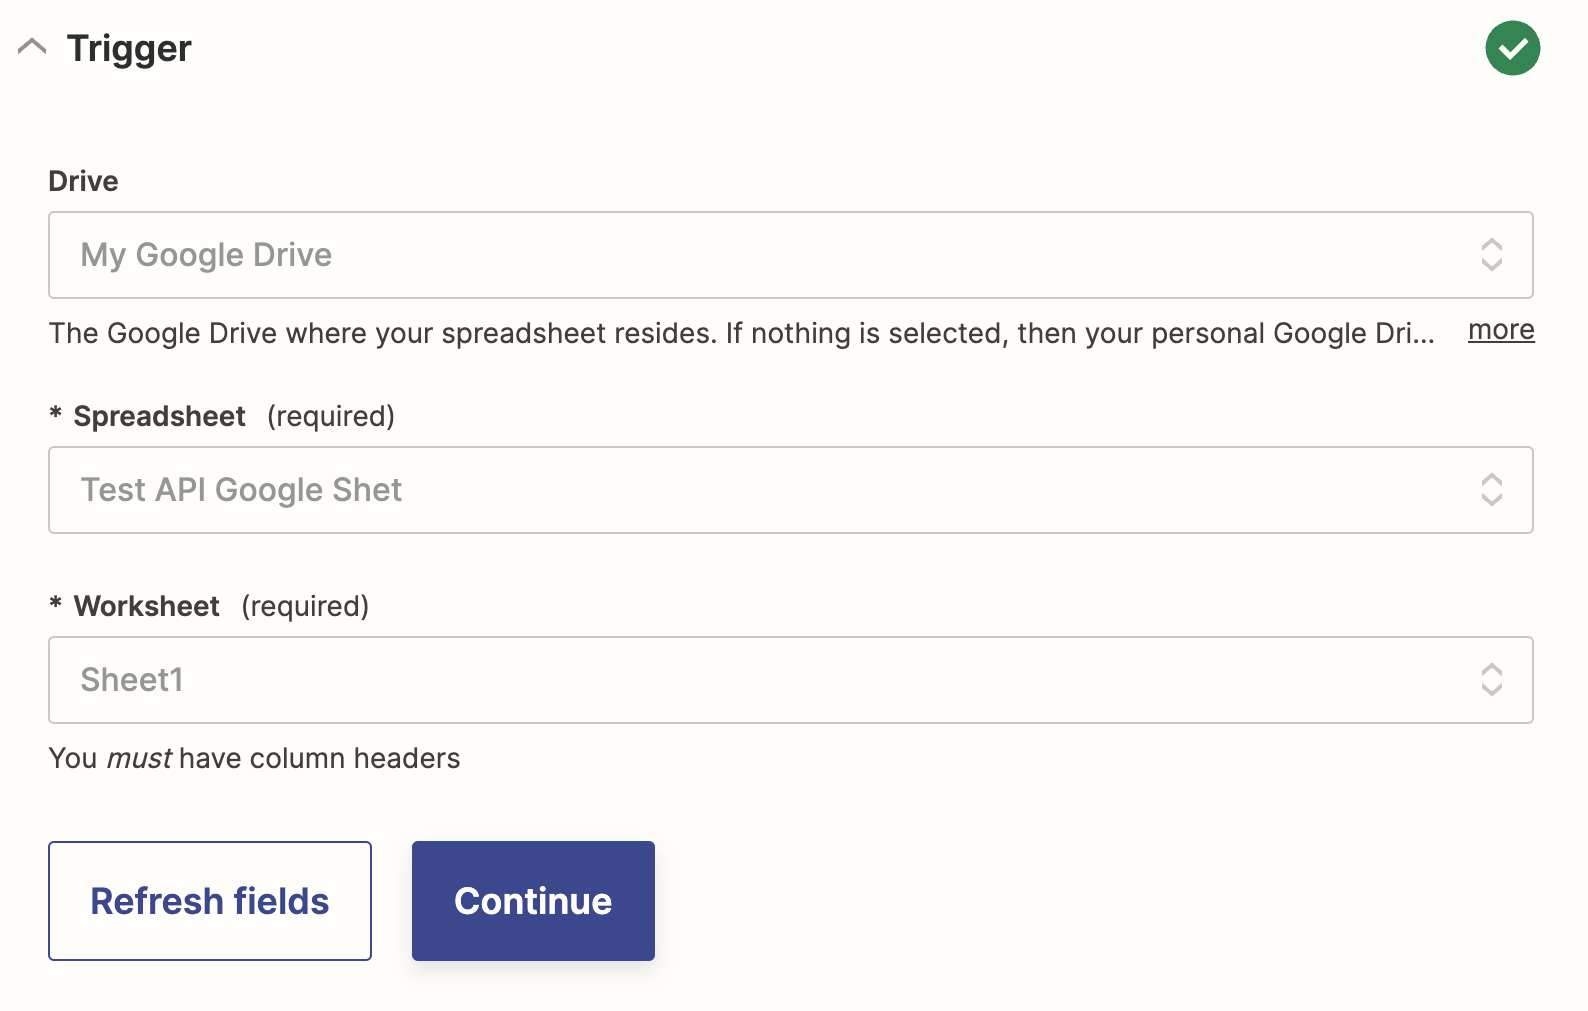
- Complete the steps to define the trigger
(Steps will vary depending on the selected application.)
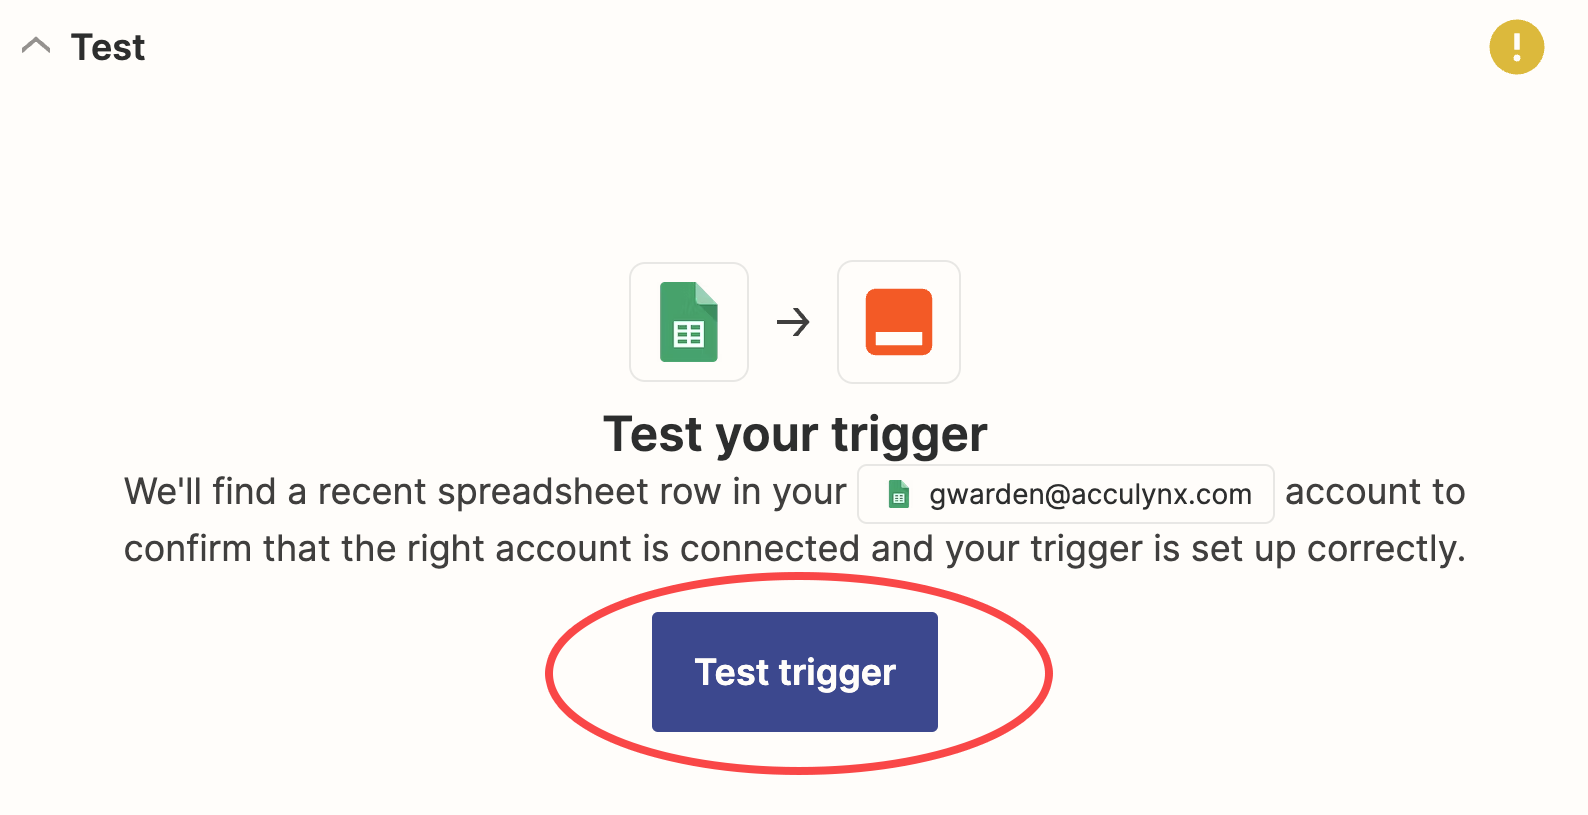
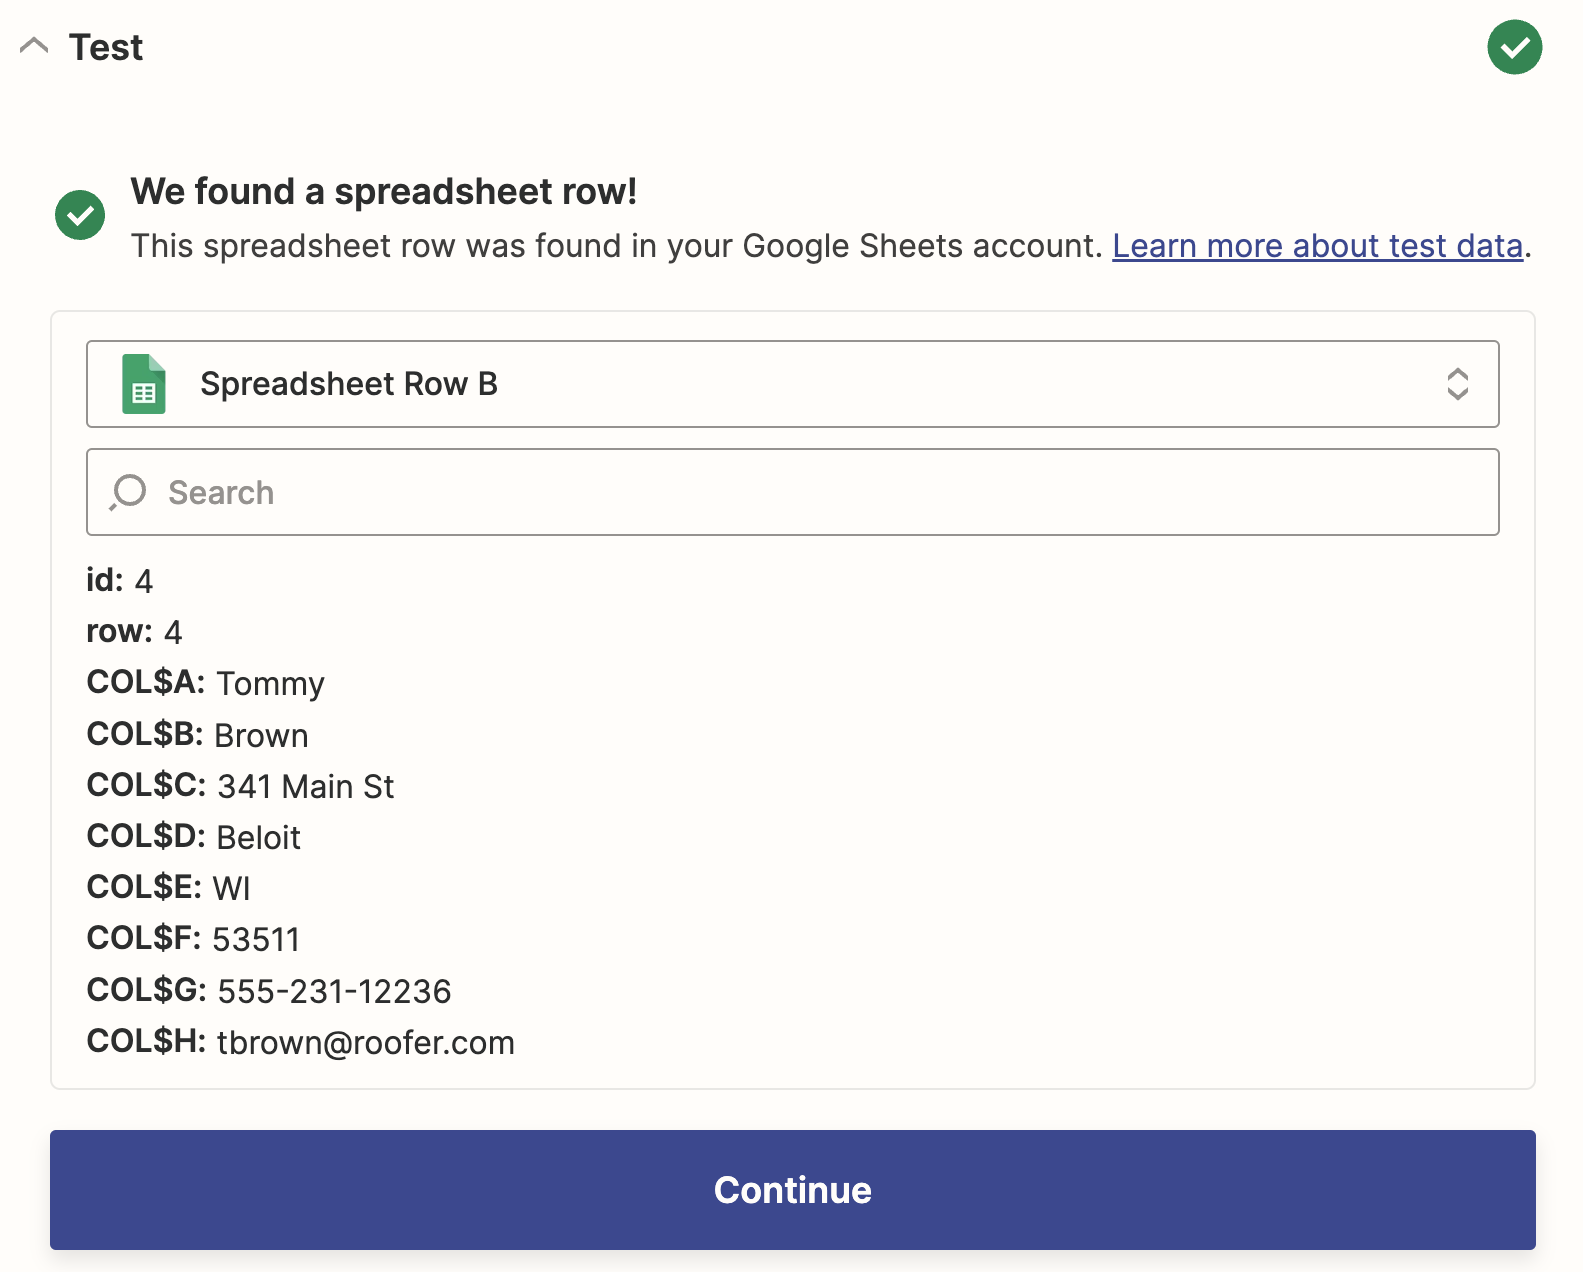
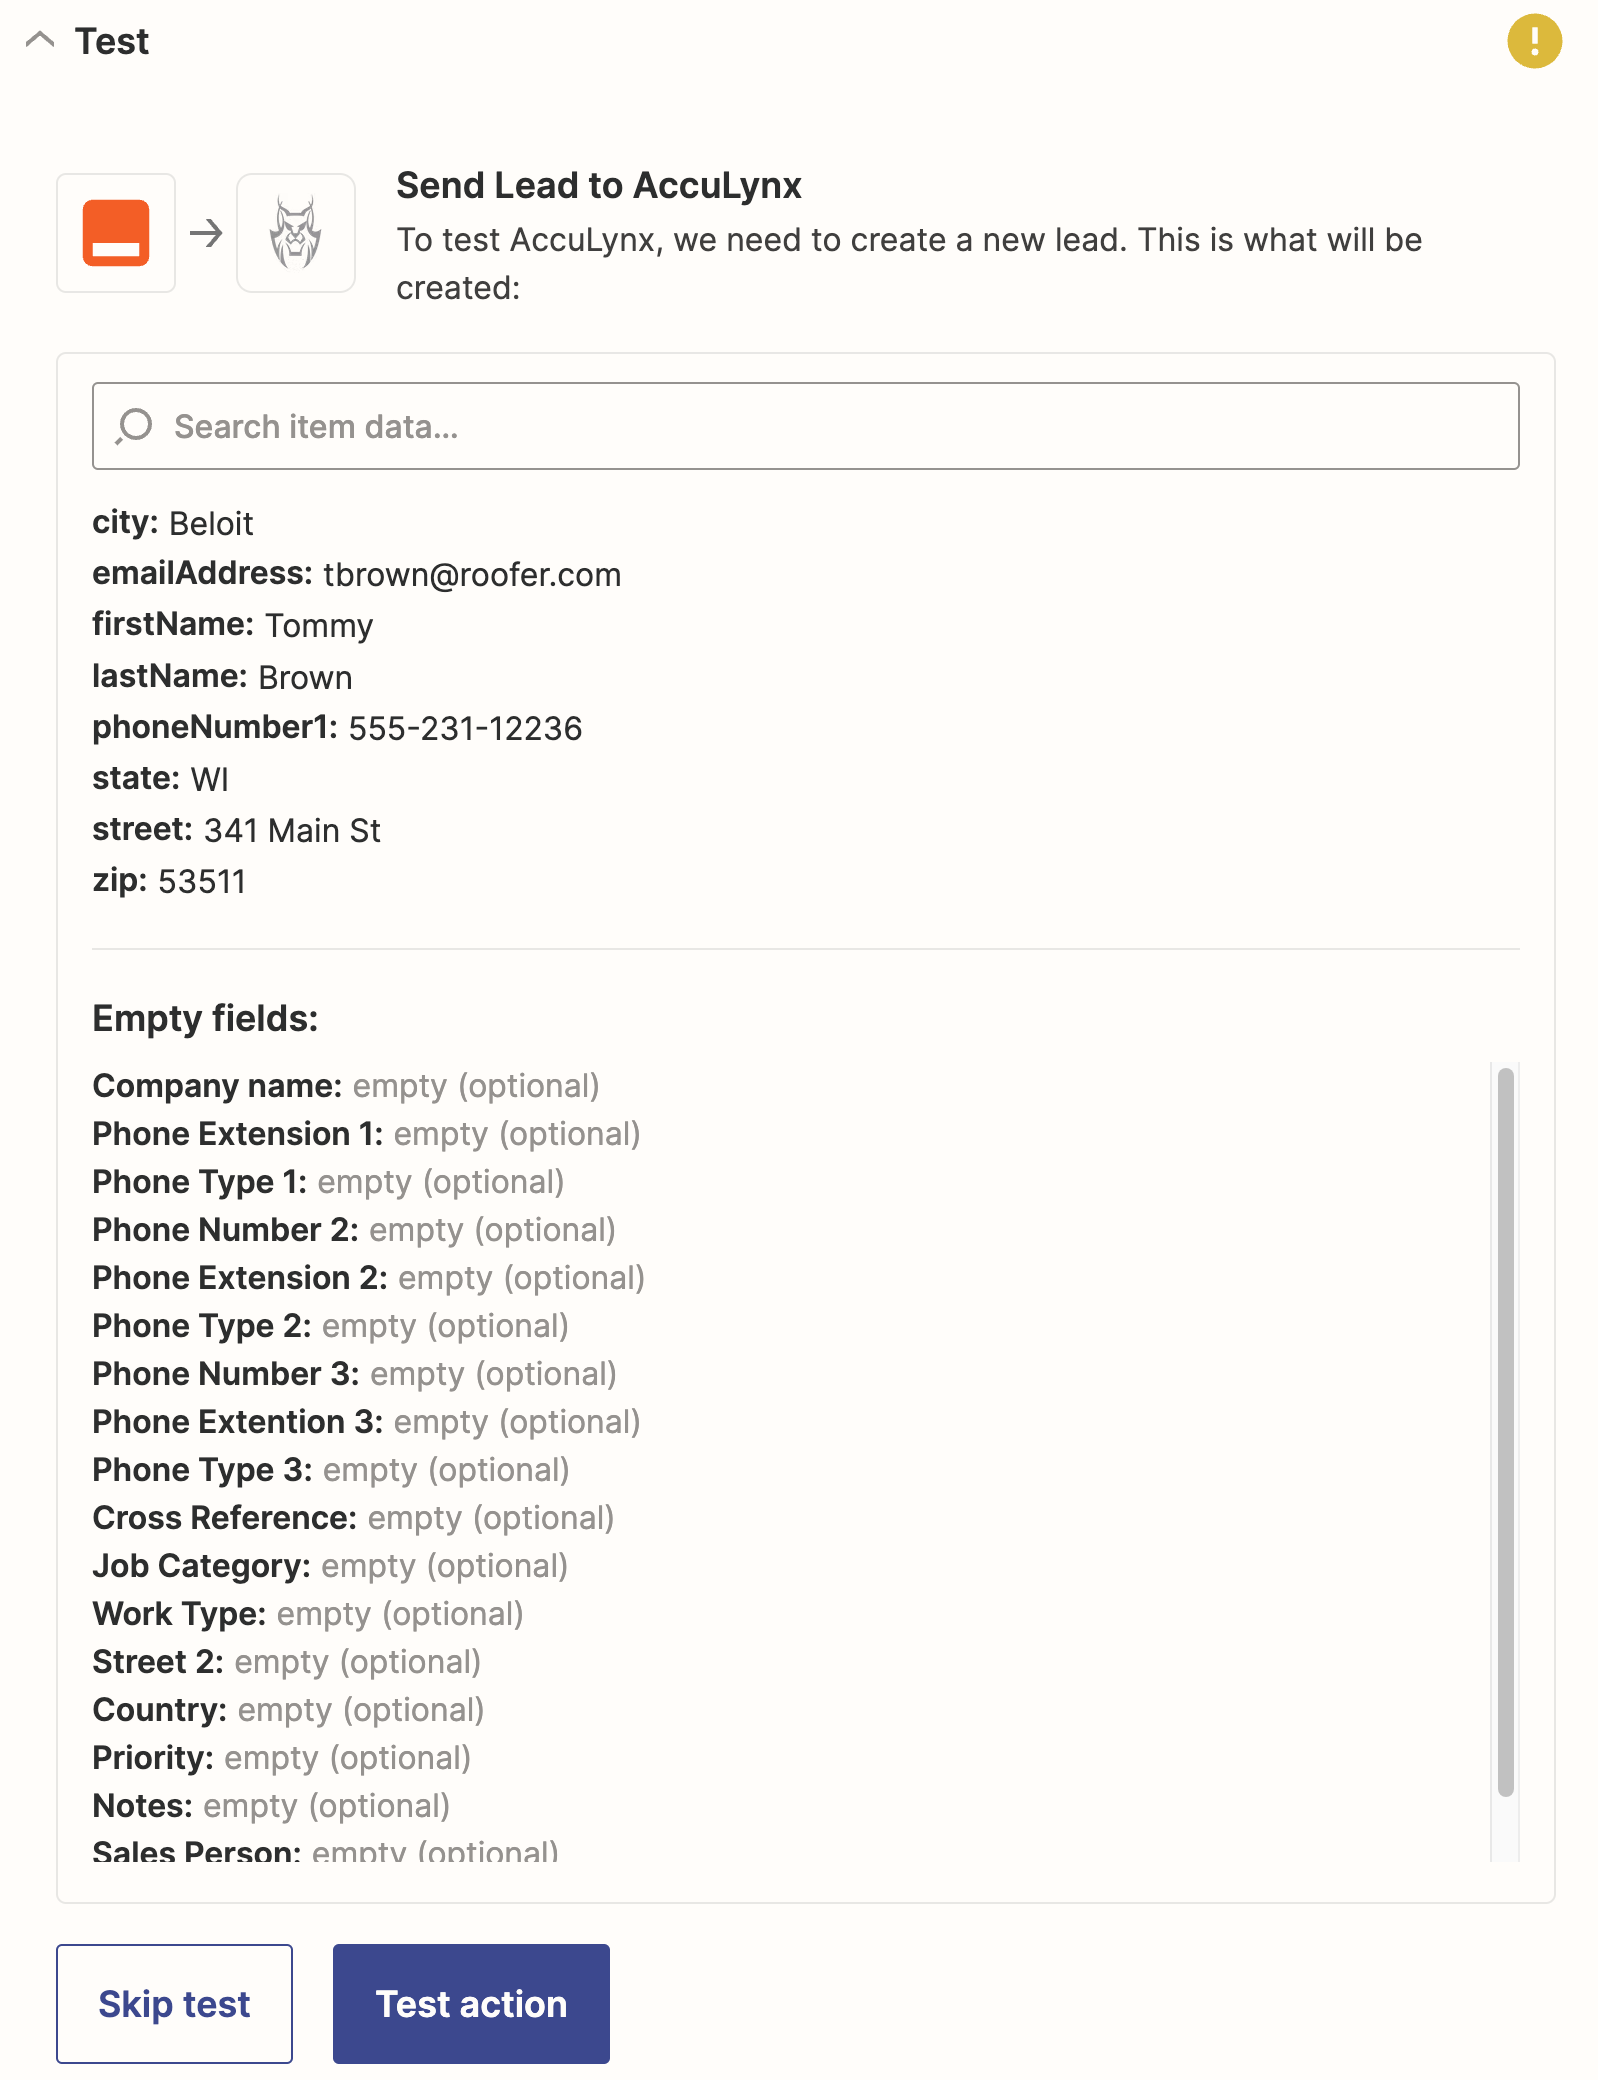
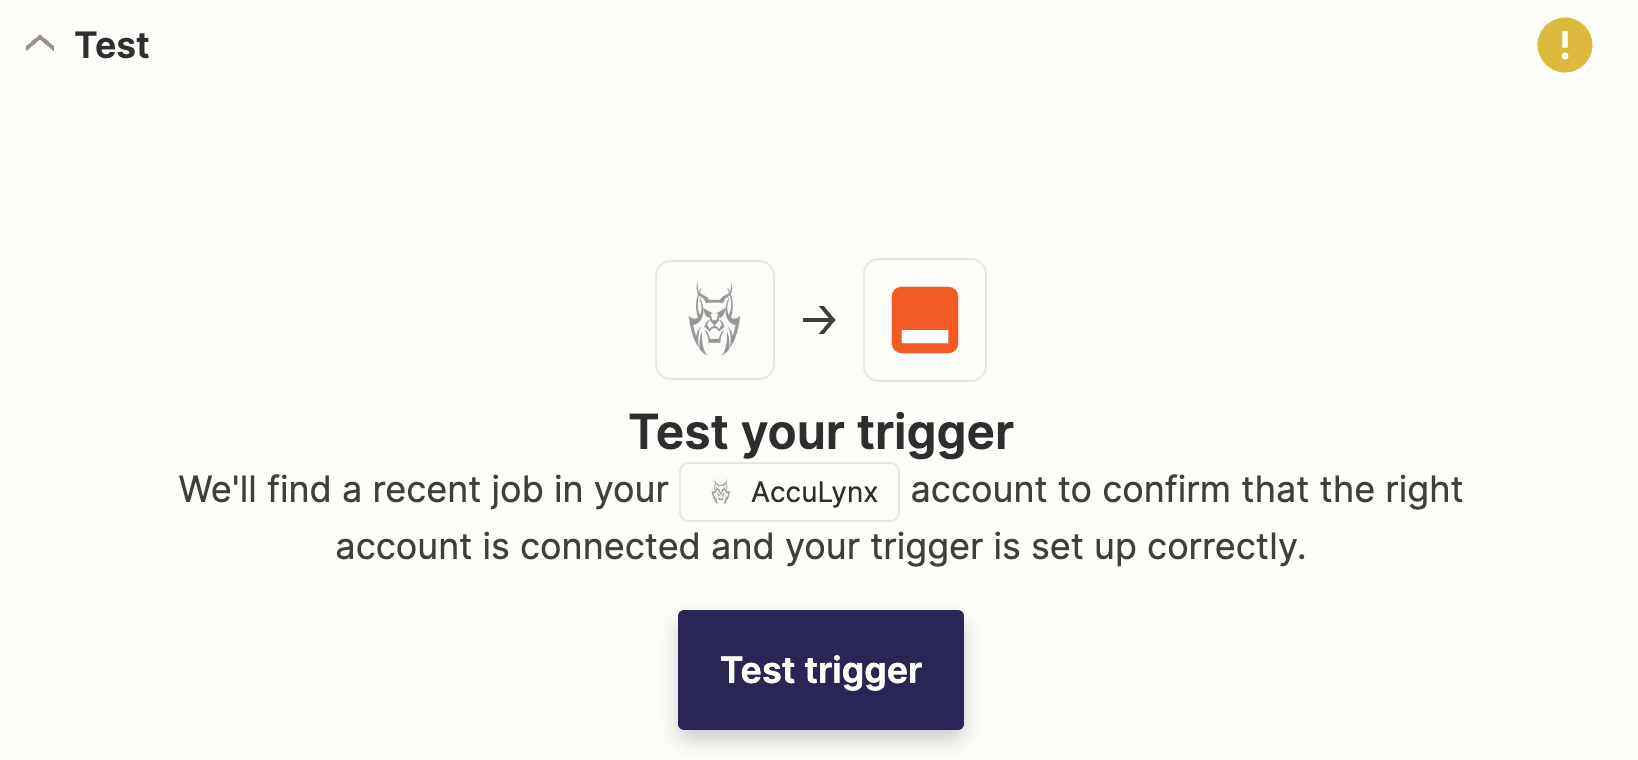
- Test to see that the expected data is being returned
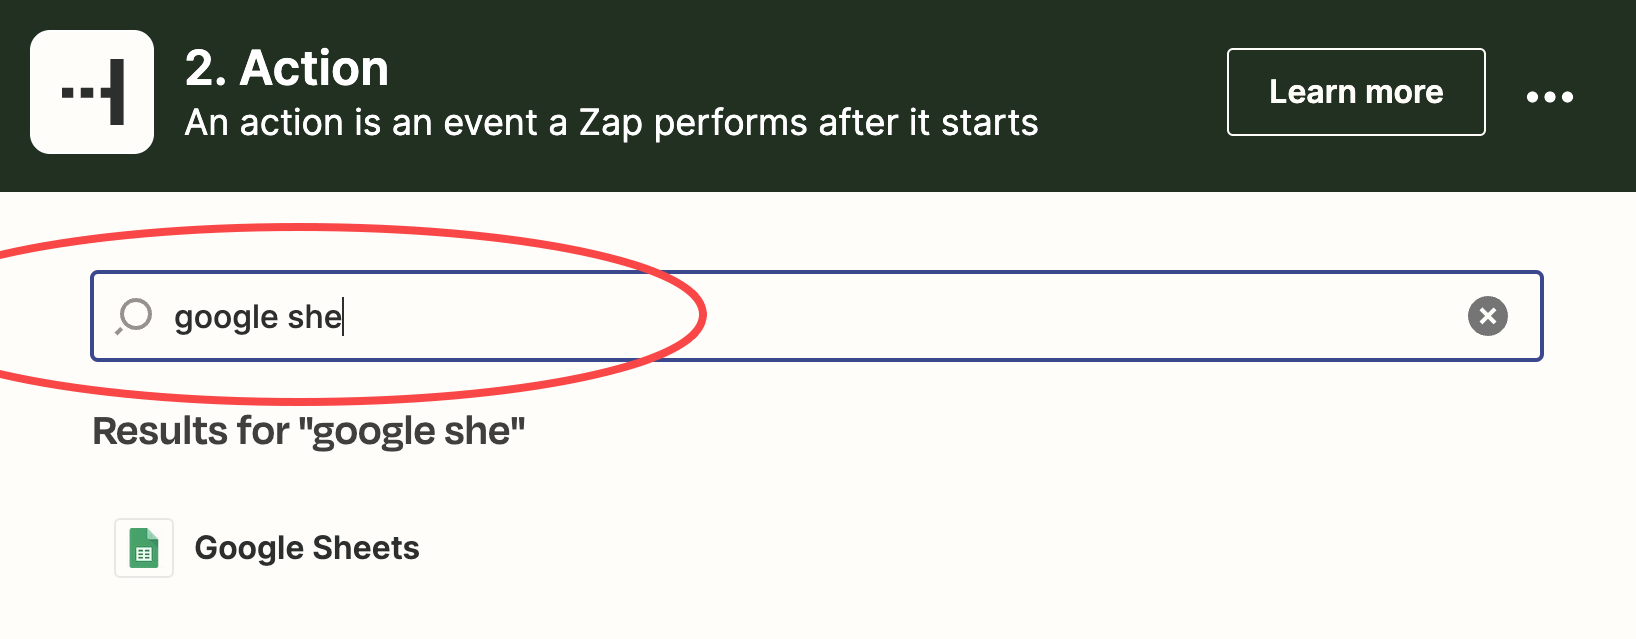
- Add the Action
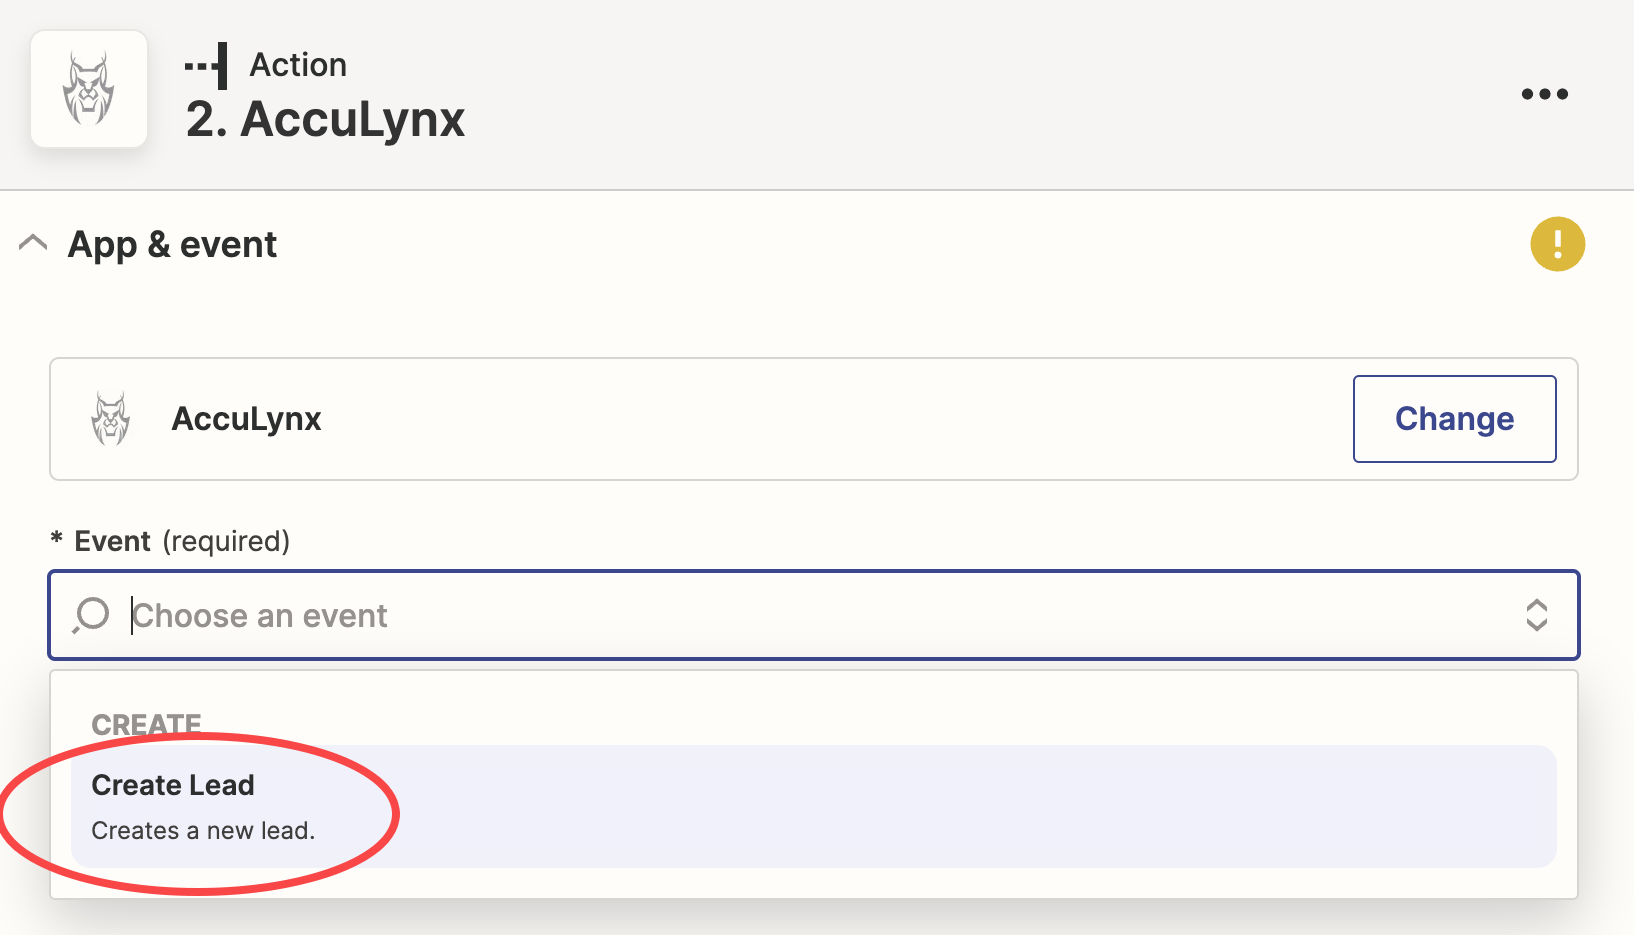
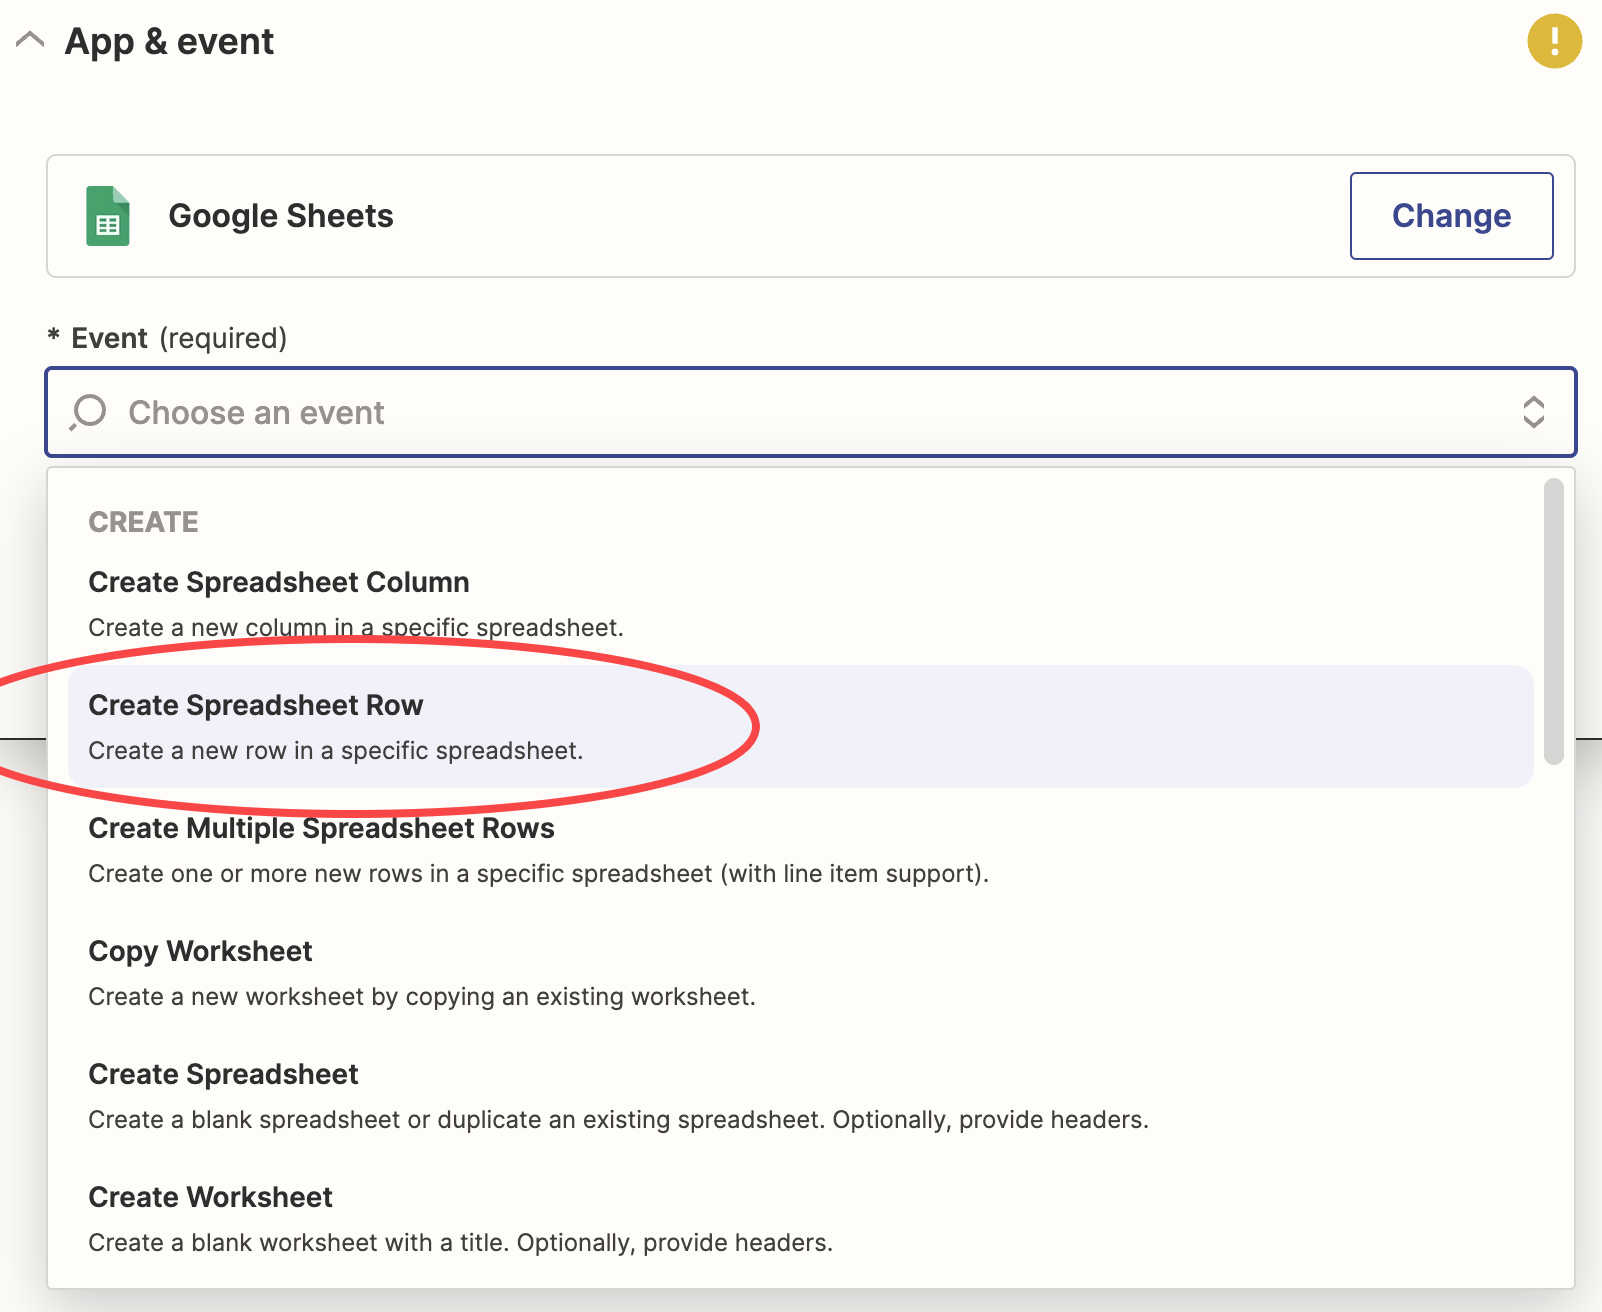
- Search for AccuLynx and add it as the “Action” App
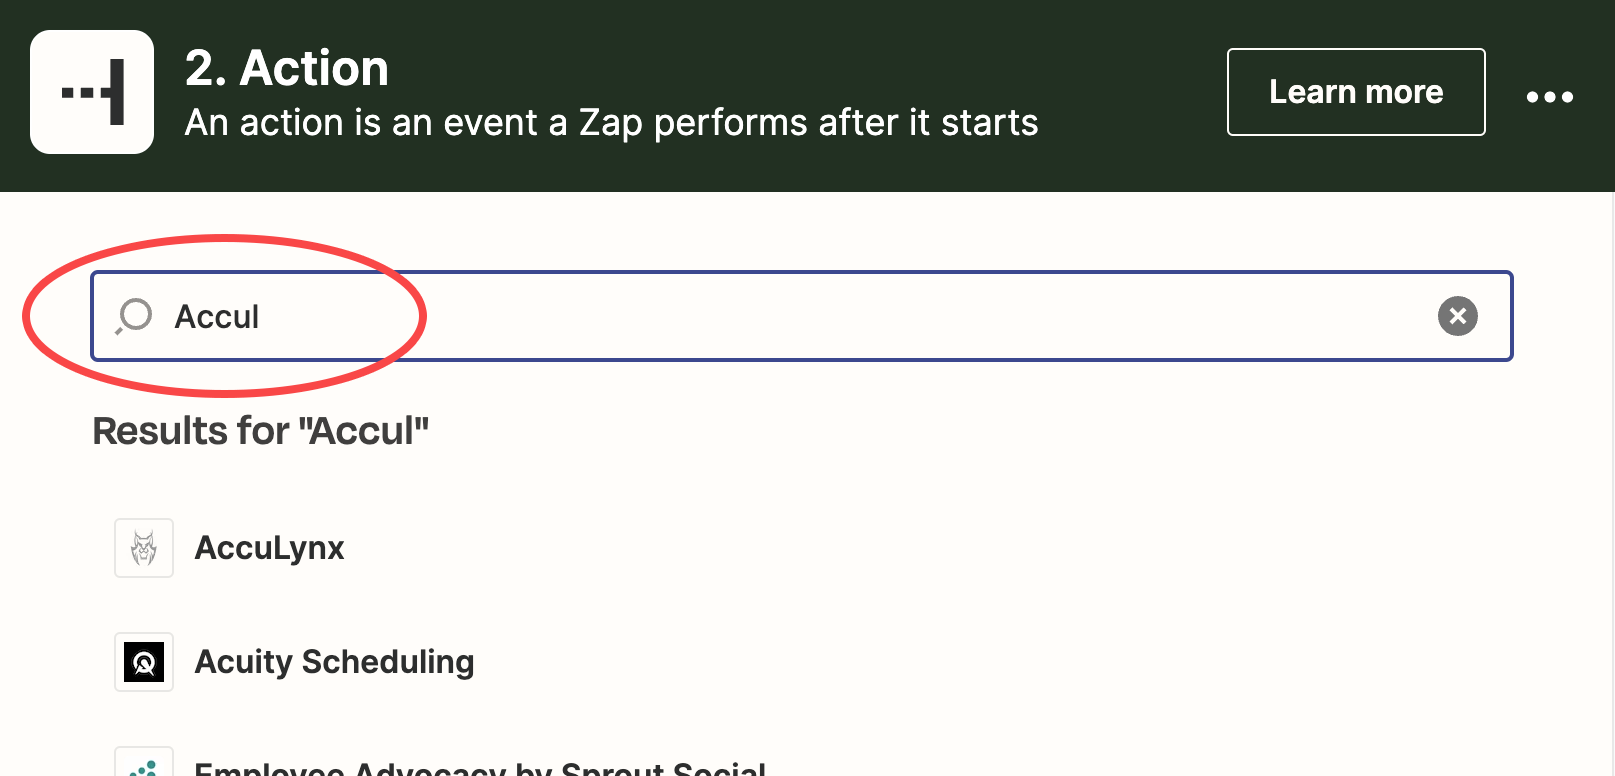
- Select “Create Lead” as the event
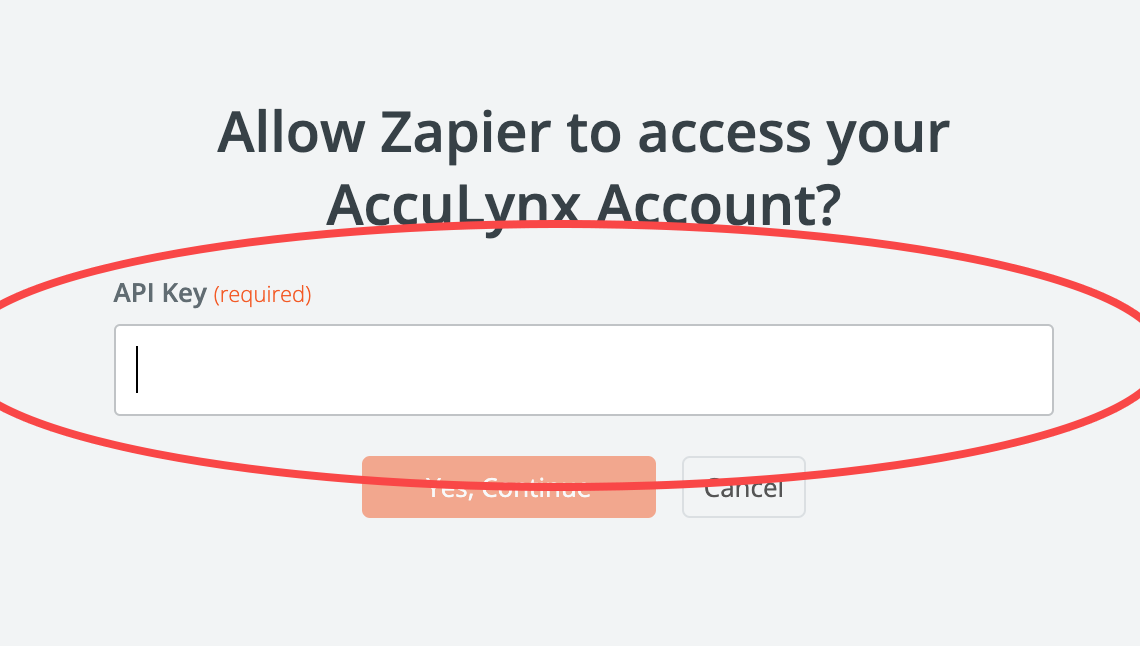
- Click “Sign In” and enter the API Key for this Zap from your selected AccuLynx location
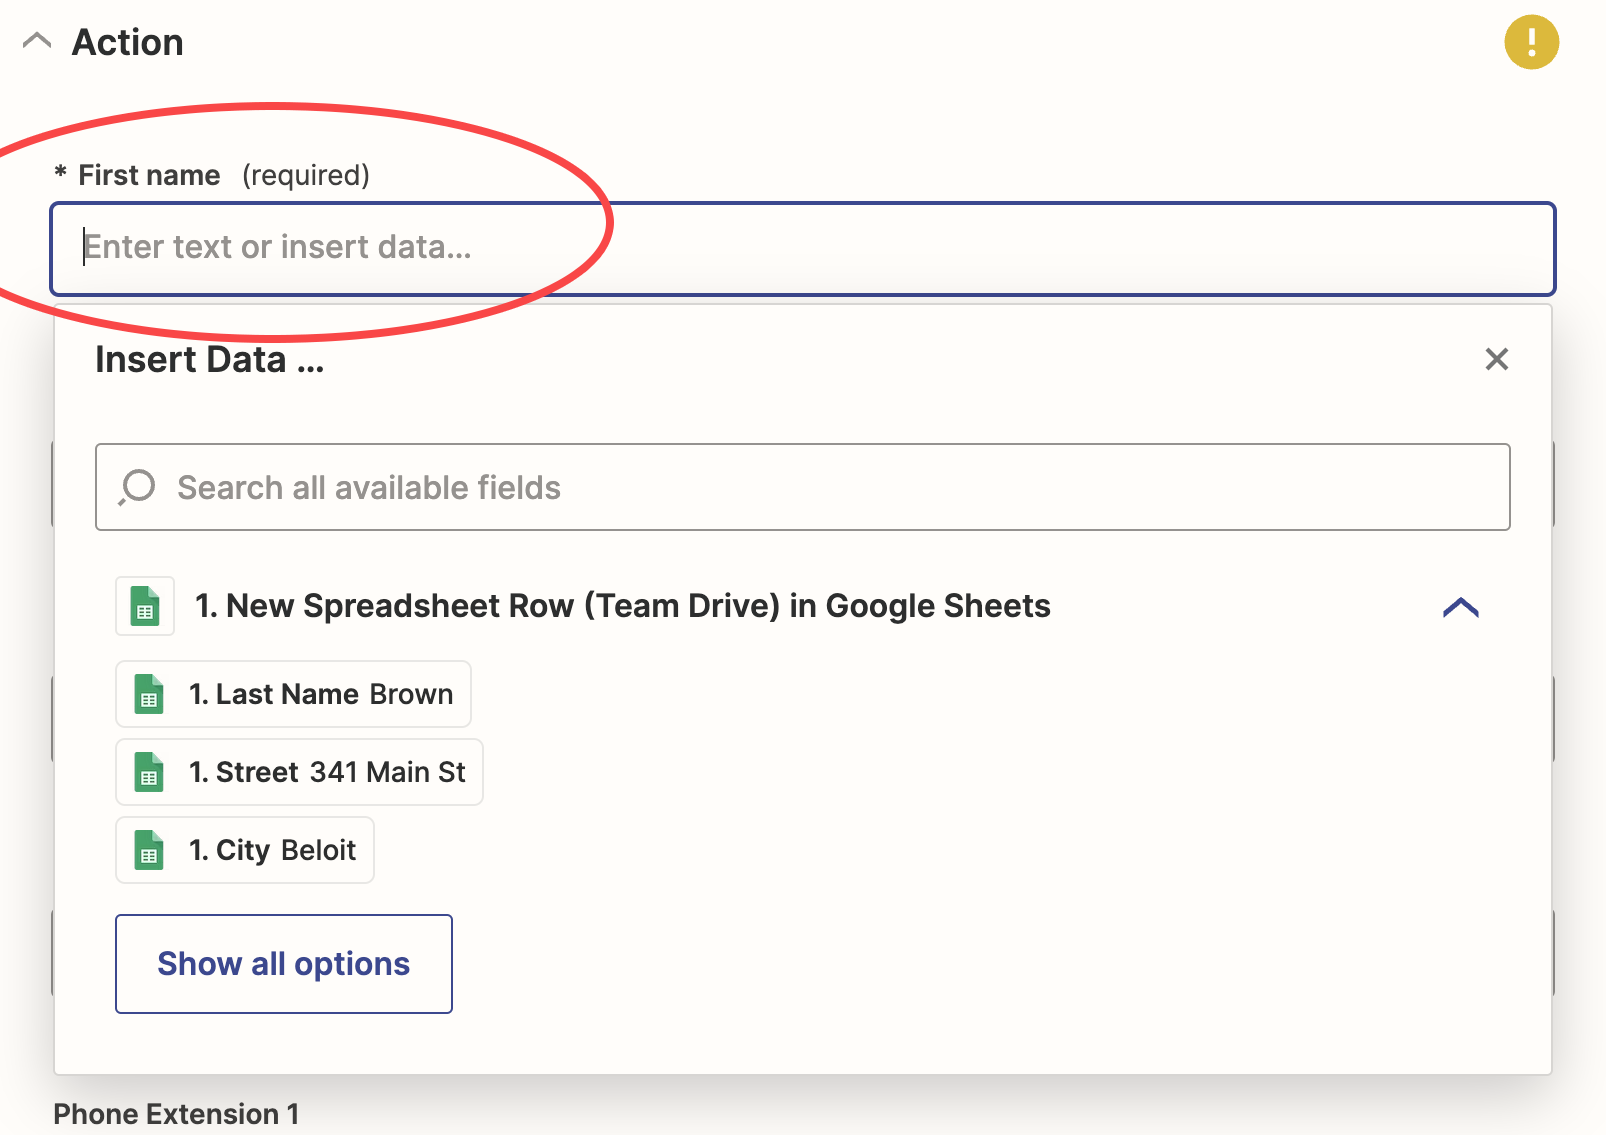
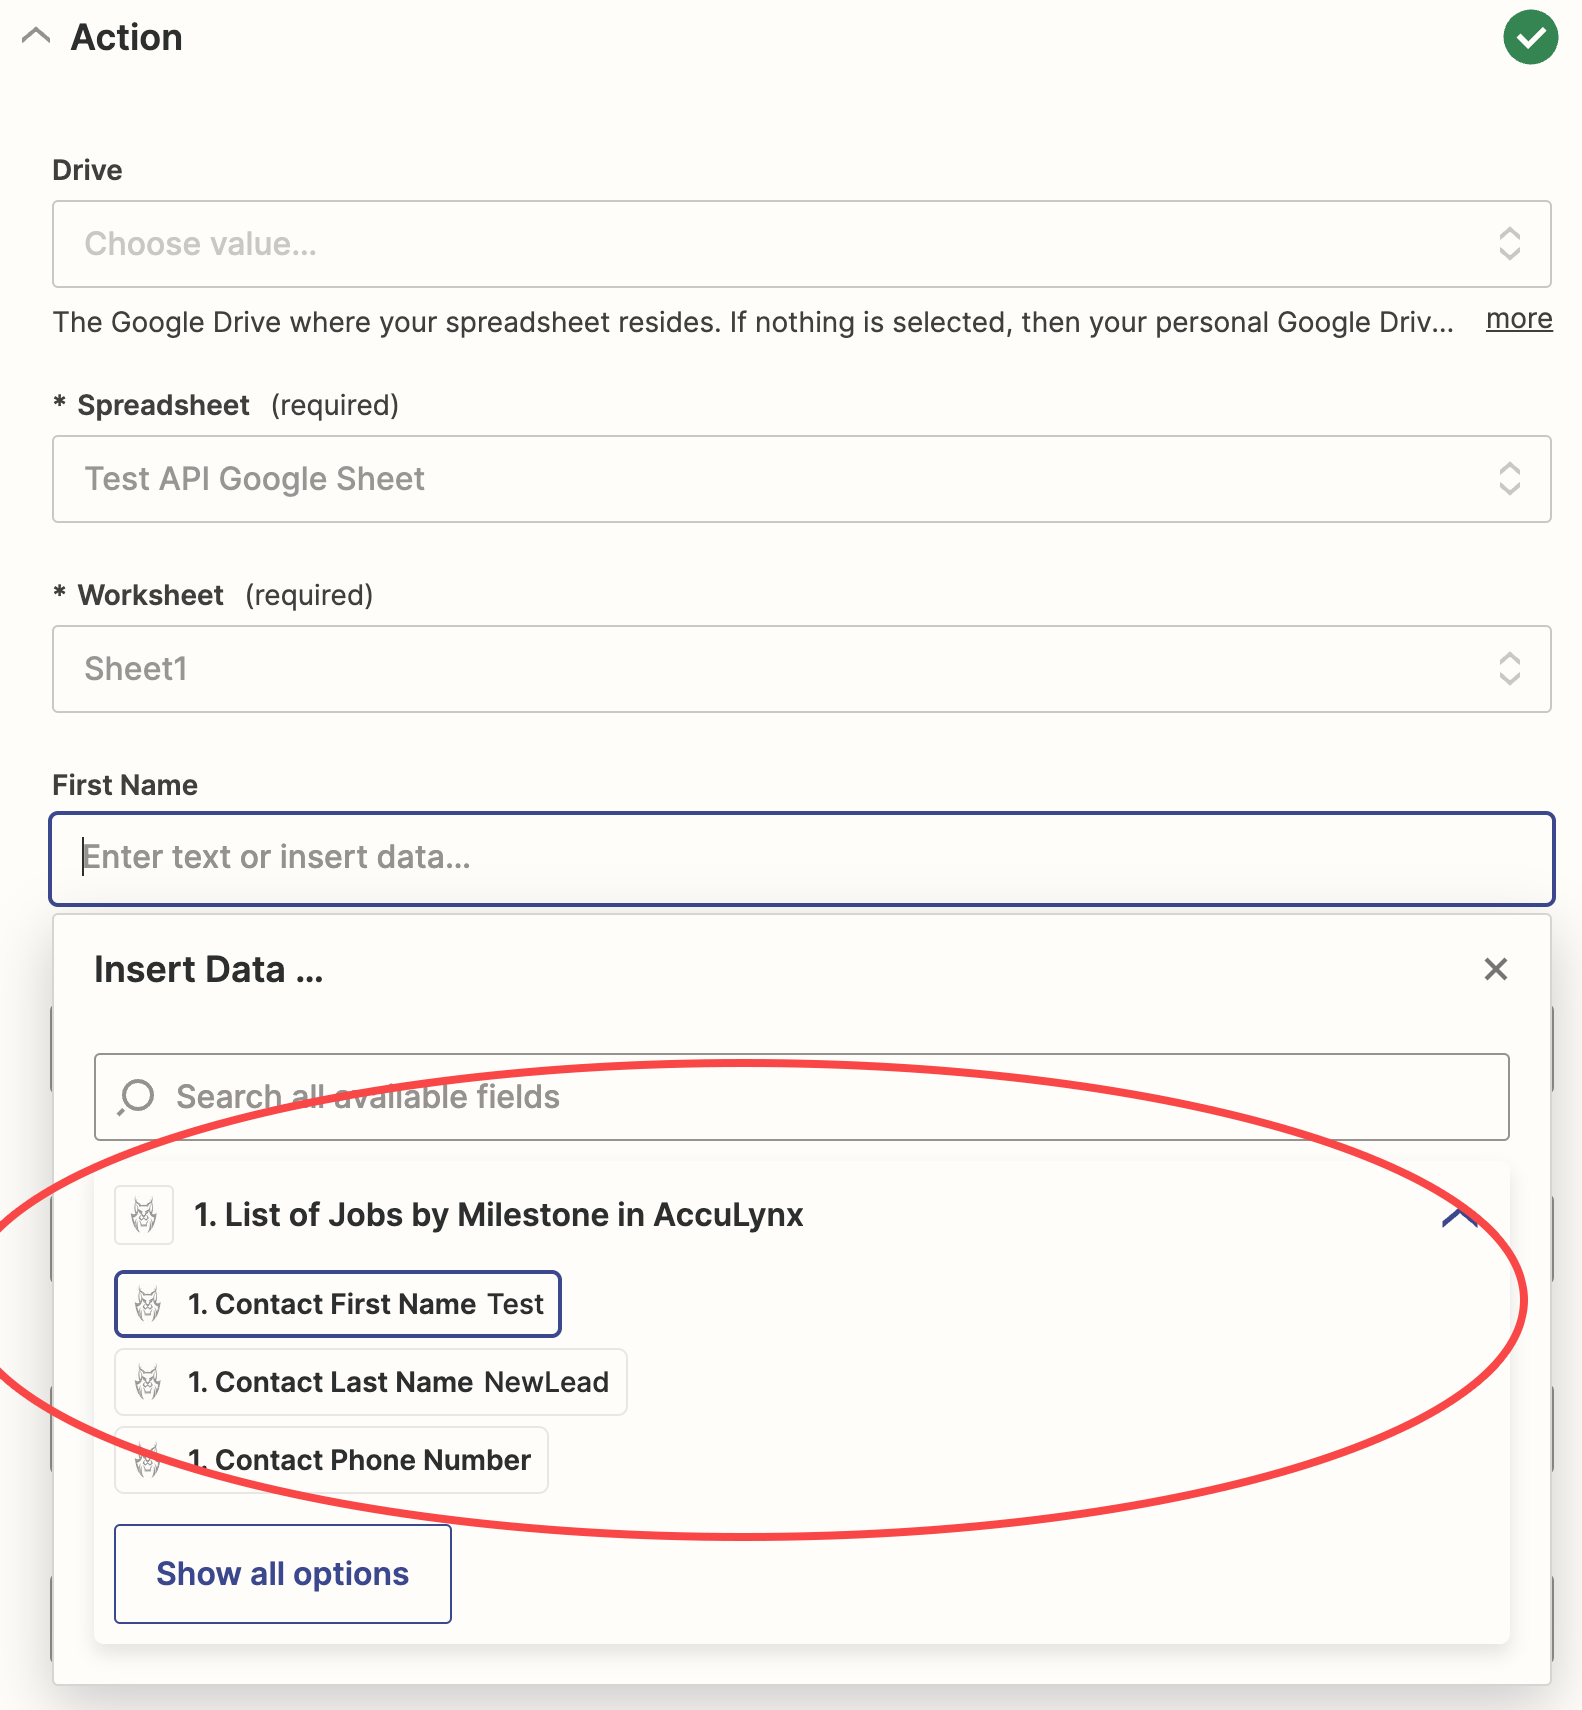
- For the Action, the AccuLynx job data fields should all be listed
- Map each field to the “Trigger” app’s data (from Step 1)
- Click continue to verify mapping
- Test the action - A new lead should be sent to AccuLynx
- Publish the Zap
Option B: Pull Job Data from AccuLynx when Job Milestone Changes
If you want get a list of your AccuLynx jobs that have changed milestone, follow these steps:
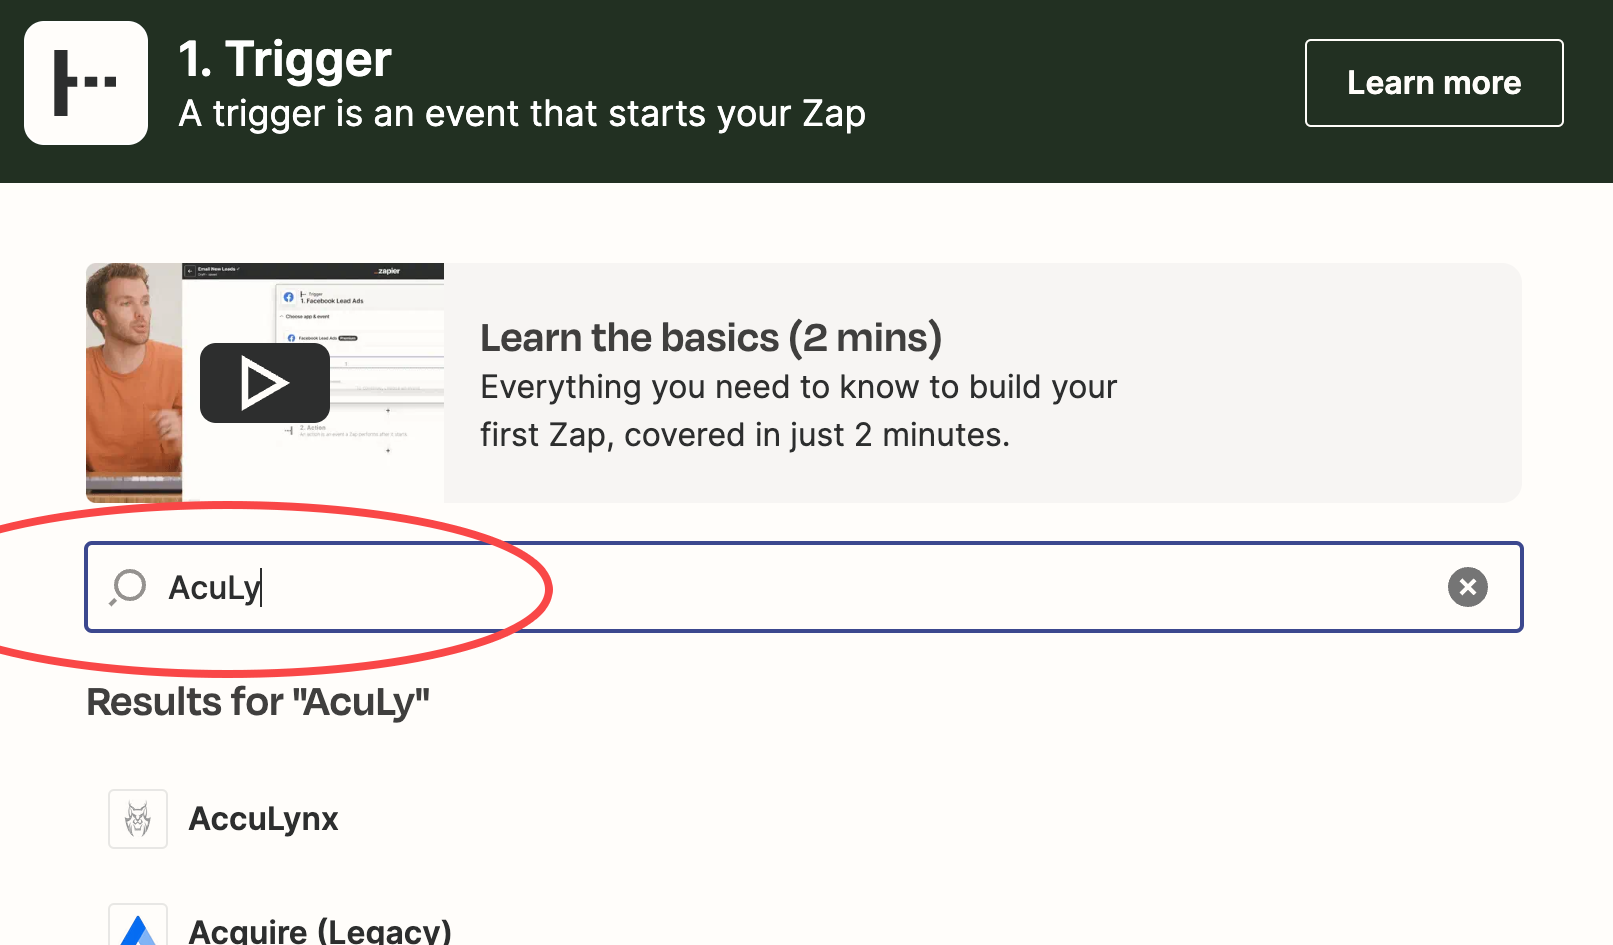
- Add the Trigger
- Search for “AccuLynx” and add it as the Trigger App
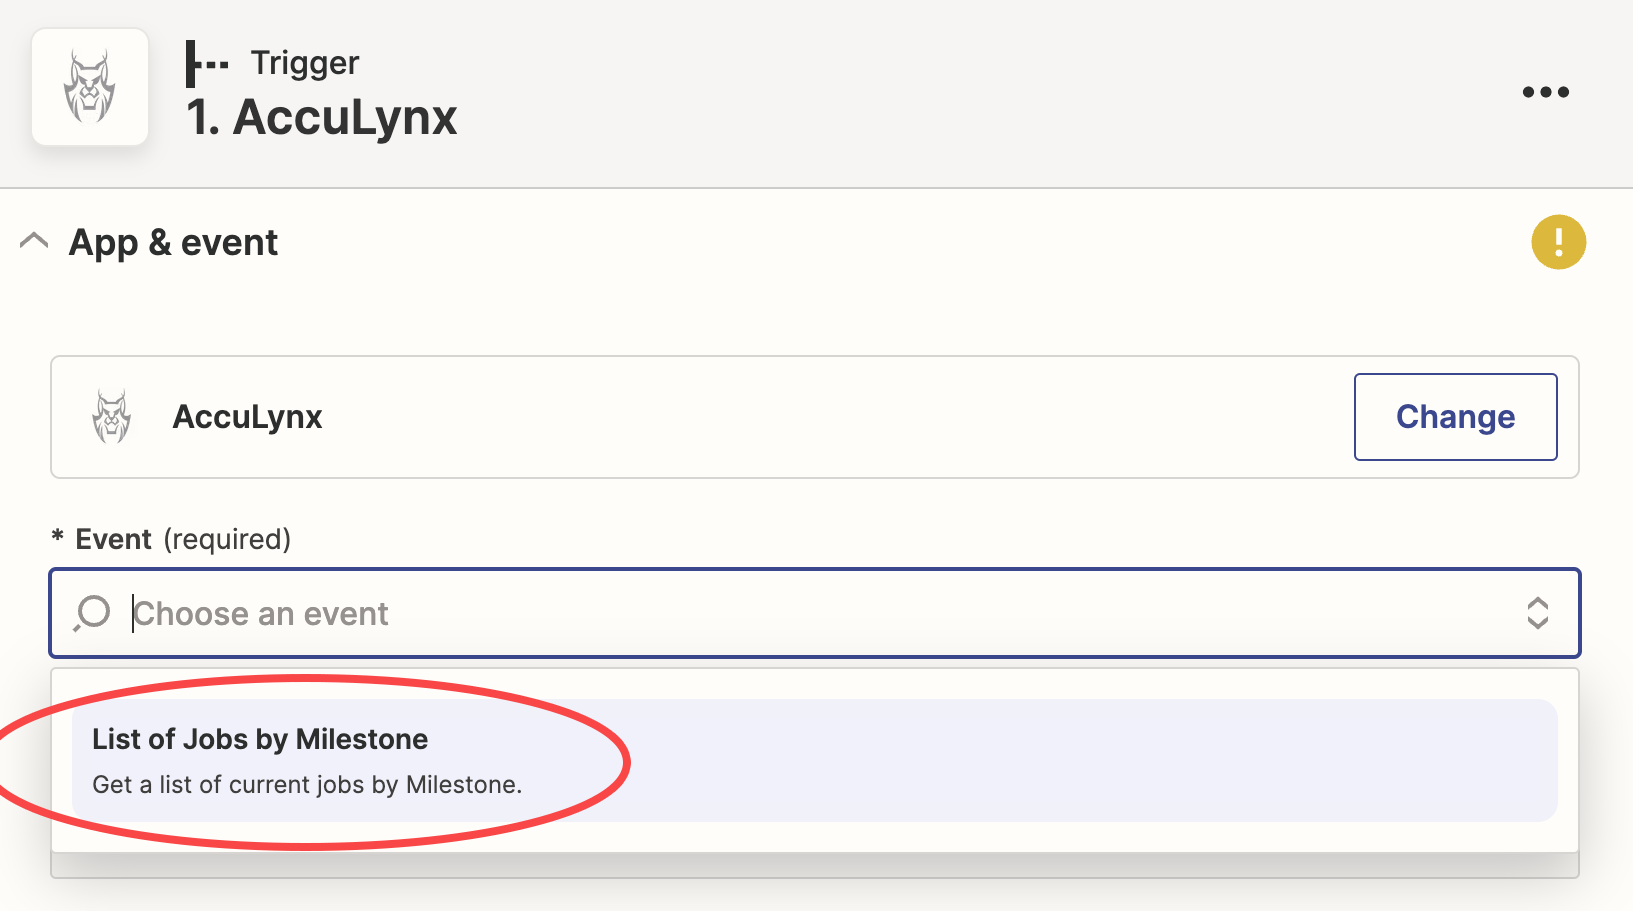
- Select “List of Jobs by Milestone” as the event
- Click “Sign In” and enter the API Key for this Zap from your selected AccuLynx location
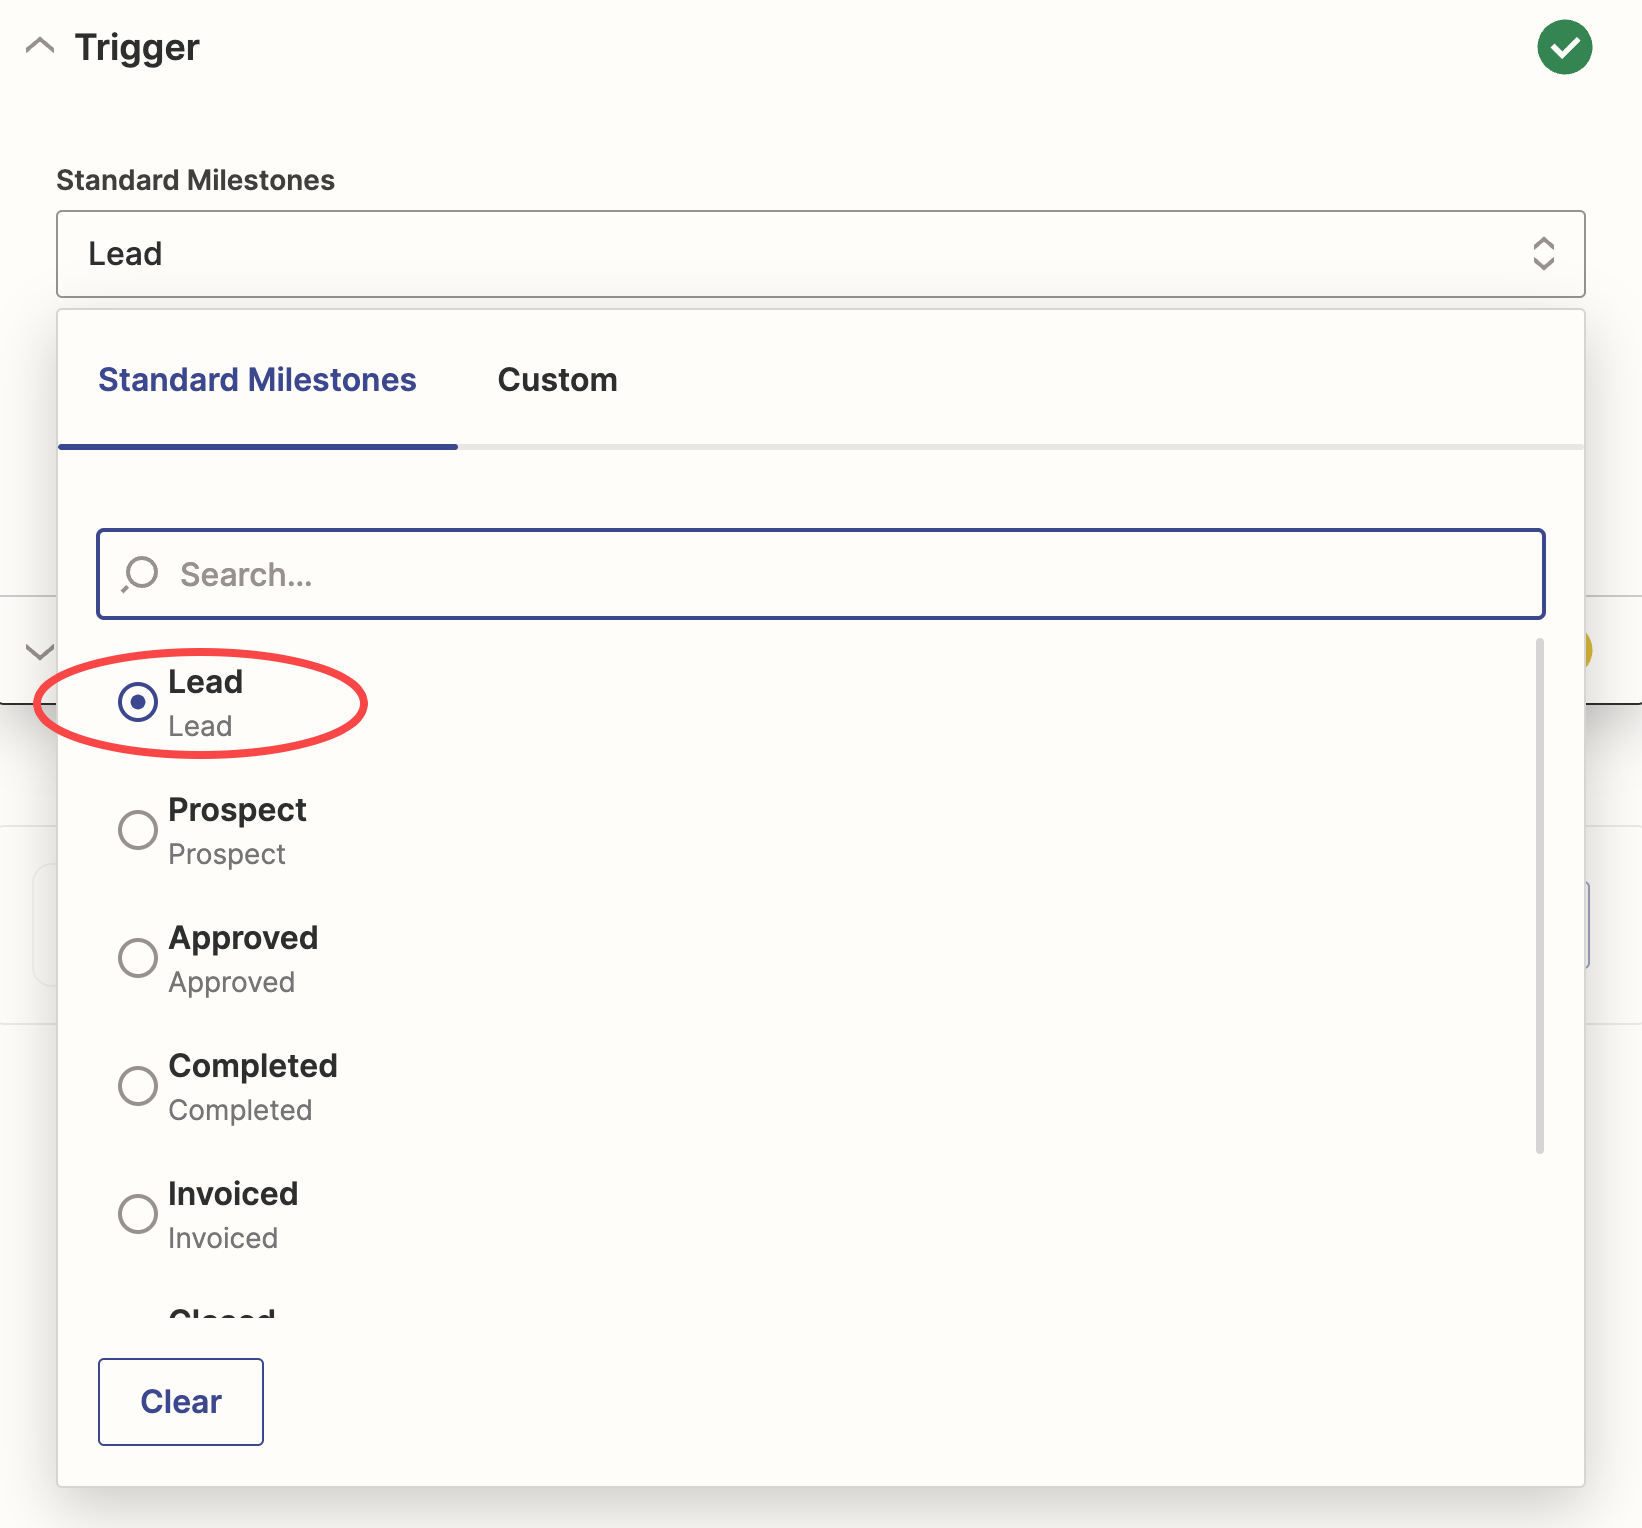
- For the Trigger, Select the milestone
(For new leads, select Lead)
- Test to see that the expected data is being returned
(IMPORTANT: A job milestone change matching your Trigger must occur in AccuLynx in order to return a job list.)
- Add the Action
- Search for the secondary application and add it as the “Action” App
- Select the Event
(Options will vary depending on the selected application.)
- Enter login credentials, if necessary.
- Complete the steps to define the action
(Options will vary depending on the selected application.)- Map each field and to the AccuLynx data
- Click continue to verify mapping
Test your Zap!
- Once your Zap is configured, in the AccuLynx application, change the Job Milestone to match the milestone required by your Zap Trigger
- Validate that the change in Milestone in the AccuLynx application kicks off the Trigger and a Job is created in the Application the we integrated with!
If your test is successful, go ahead and publish your Zap!
Updated over 1 year ago